
Many Windows 11 features are kept hidden from users to reduce storage consumption. The feature kept hidden from the users is termed Optional Features. On Windows 11, you get a dedicated section for Optional features that allows you to install & enable many new functionalities of the operating system.
1. Add Optional Features on Windows 11
If you want to add optional features on Windows 11, follow these steps.
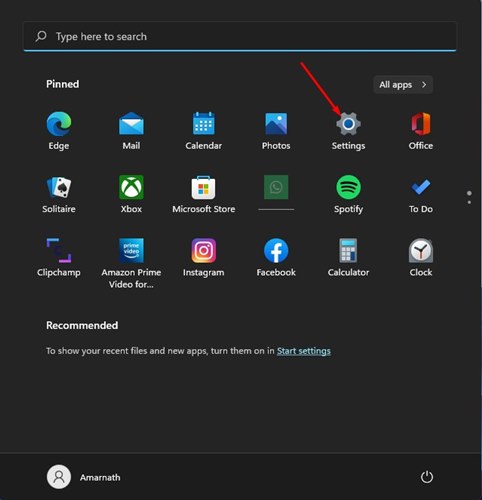
1. Click on the Windows 11 Start button and select Settings.
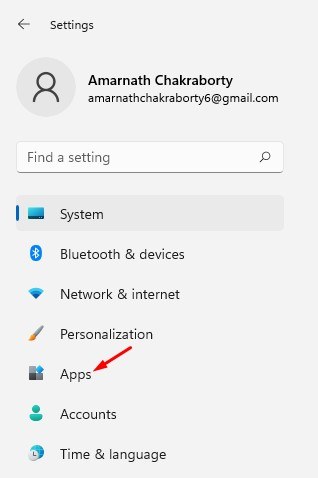
2. Click on the Apps.
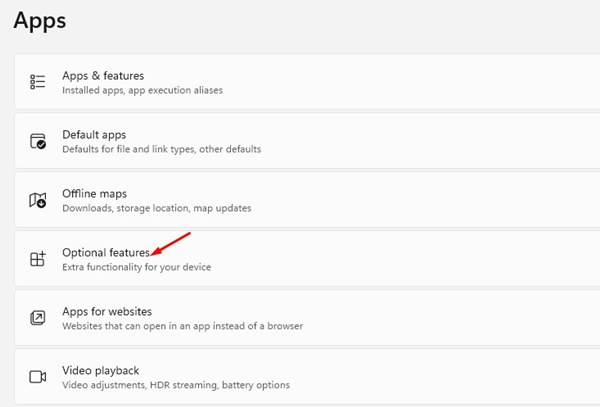
3. Scroll down and click the Optional features option on the right pane.
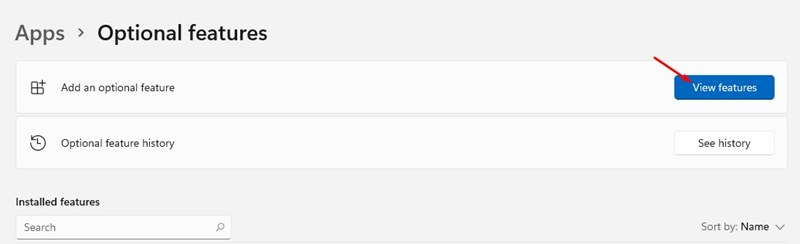
4. Click on the View features button behind the Add an optional feature or View features.
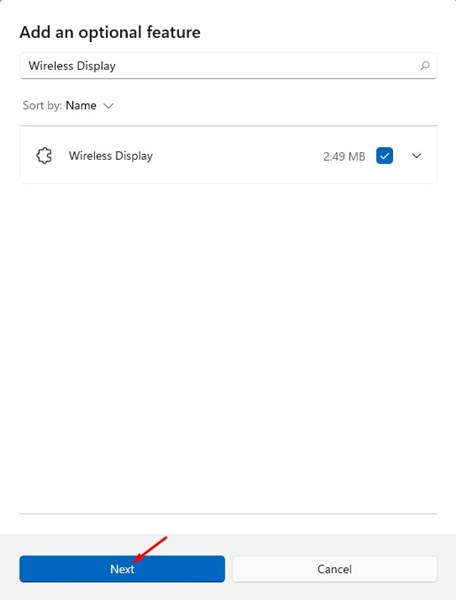
5. On the Add an optional feature pop-up, select the feature you want to install on your computer. For example, here, we have chosen the Wireless Display feature. Once done, click Next.
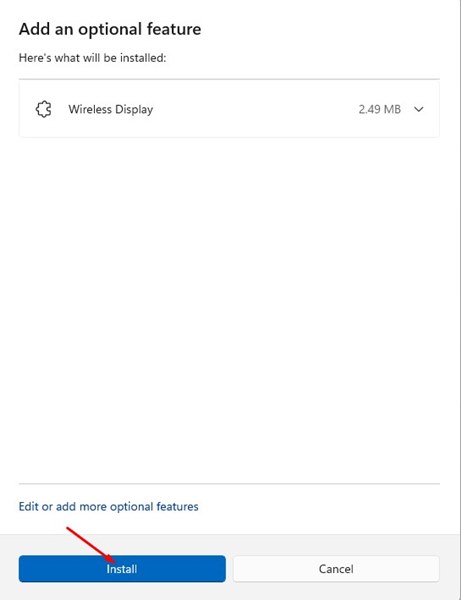
6. Click on Install.
2. How to Remove Optional Features
If you don’t want to use the optional features, you can easily disable or uninstall them from the Settings app.
1. Click on the Windows 11 Start button and select Settings.
2. Click Apps.
3. Scroll down and click Optional features.
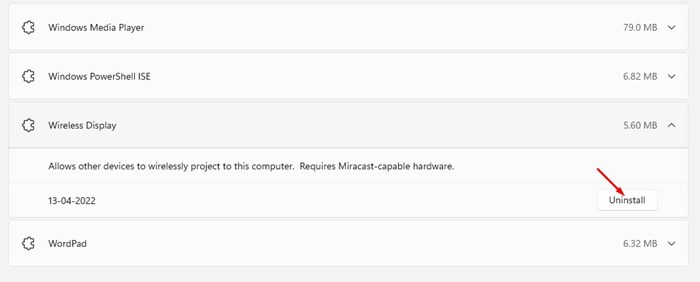
4. Your installed features will appear underneath the Installed Features section. You need to select the feature and click Uninstall.
3. How to Add Optional Features via Control Panel
You can also access the optional features via the Control Panel.
1. Type Turn Windows Features on or off in the Windows Search. Open the relevant Control Panel item from the list.

2. On the Turn Windows features on or off prompt, check the features that you want to enable. Once done, click OK.

3. To remove the optional features, simply uncheck the options and click OK.
This guide is all about how to add or remove optional features on the Windows 11 operating system. If you have any doubts about this, let us know in the comment box below.
The post How to Add or Remove Optional Features in Windows 11 appeared first on TechViral.
from TechViral


0 Comments