
Clearing the cache files will free up precious storage on your system and fix many apps, network, or compatibility-related issues. If you want to clear the cache in Windows 11, here’s what you need to do.
1. Clear Cache via Settings
We will use the Windows 11 Settings app to clear the Windows 11 cache file. Here’s what you need to do.
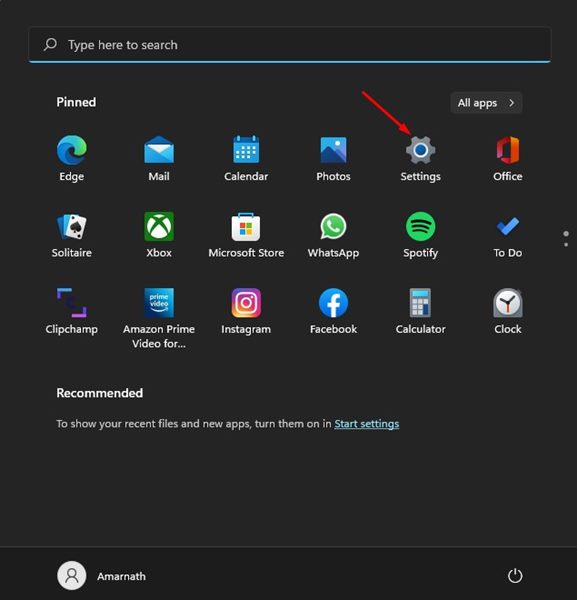
1. Click the Windows 11 Start button and select Settings.
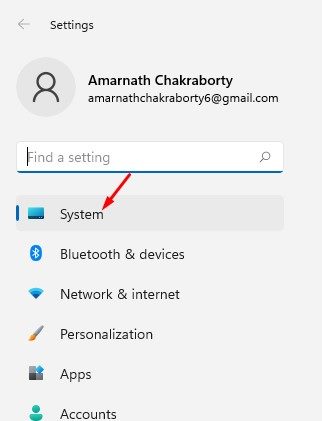
2. Click on the System tab.
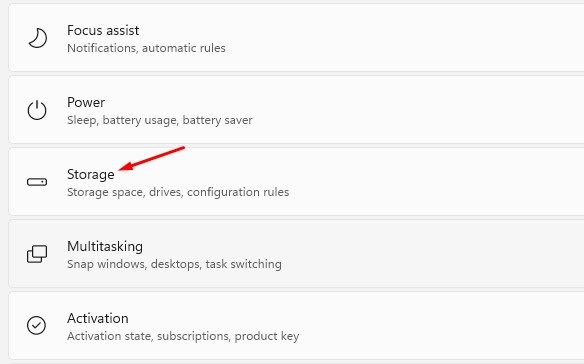
3. Click on Storage.
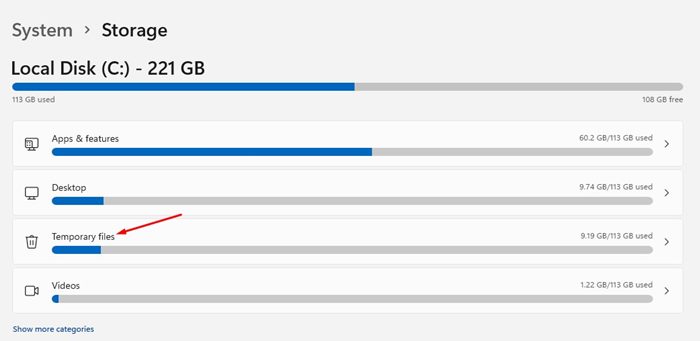
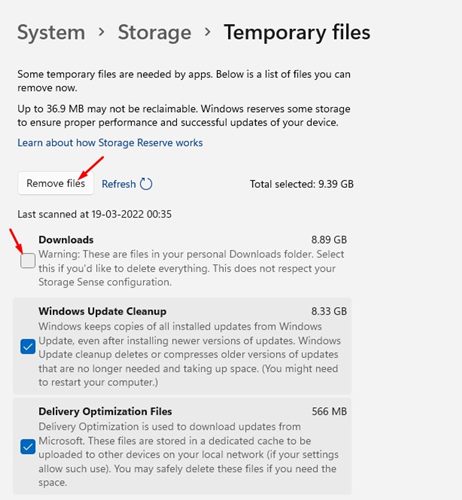
4. Click on the Temporary files.
5. Uncheck the Downloads option and click Remove files.
2. How to Clear Location Cache in Windows 11
The next thing you would like to clear is the Location Cache. Here’s how to do so.
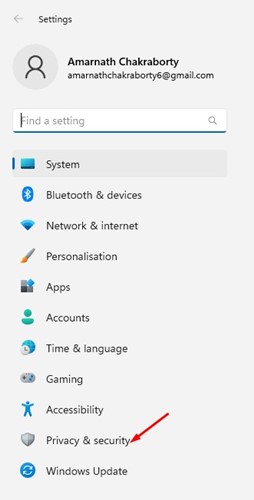
1. Launch the Settings app on your Windows 11 PC. When Settings opens, switch to Privacy & Security.
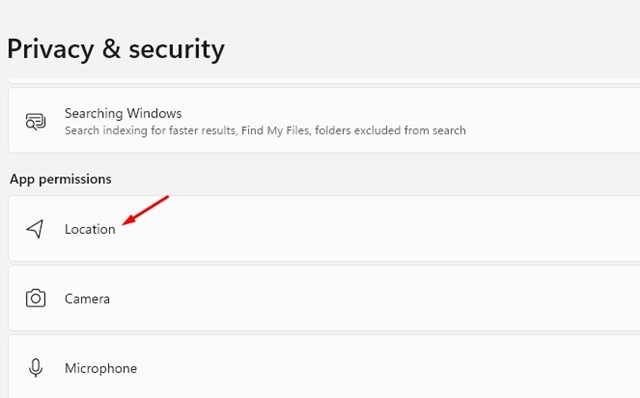
2. On the right side, click Location.
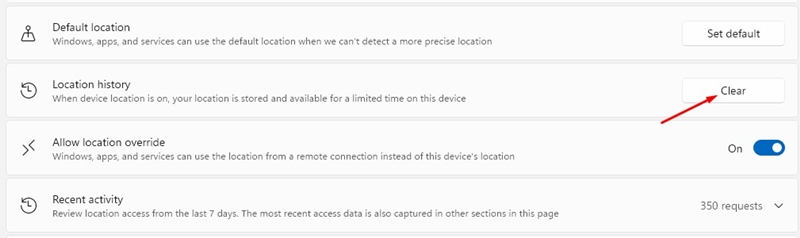
3. On the Location screen, scroll down to the Location History section.
4. Click the Clear button.
3. Clear Cache in Windows 11 via Disk Cleanup
We will use Windows 11’s Disk Cleanup utility to clear the cache file. Here’s what you need to do.
1. Press the Windows Key + R button on your keyboard. This will open the RUN dialog box.
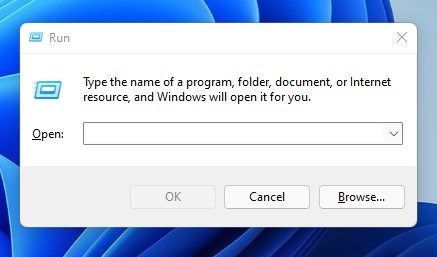
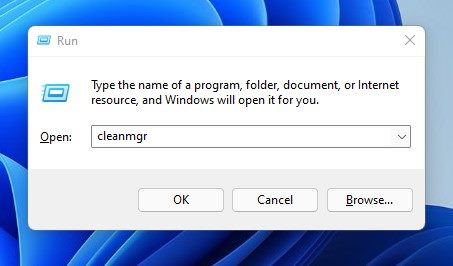
2. On the RUN dialog box, enter cleanmgr and click Ok.
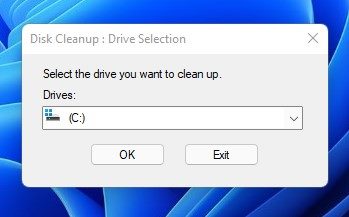
3. On the Disk Cleanup utility, select the C Drive and click Ok.
4. The Disk Cleanup utility will return all files you can delete.
5. You need to select all cached items, such as Temporary files, Thumbnails, Index logs, and more. You can even select the Previous Windows Installation files to free up storage space.
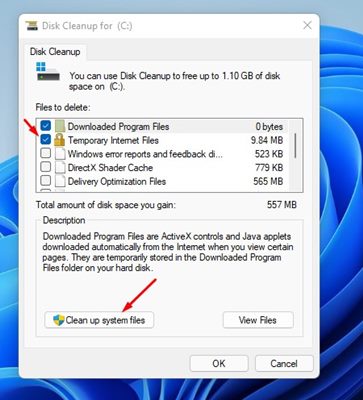
6. After selecting all the items, click on the Ok button.
4. Clear App Cache in Windows 11
You can clear the App cache files in Windows 11 to free up some storage. This will also fix unresponsive apps on your system.
1. Press the Windows Key + R button on your keyboard. This will open the RUN dialog box.
2. Type %tmp% and press Enter.
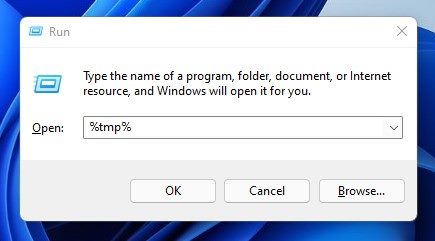
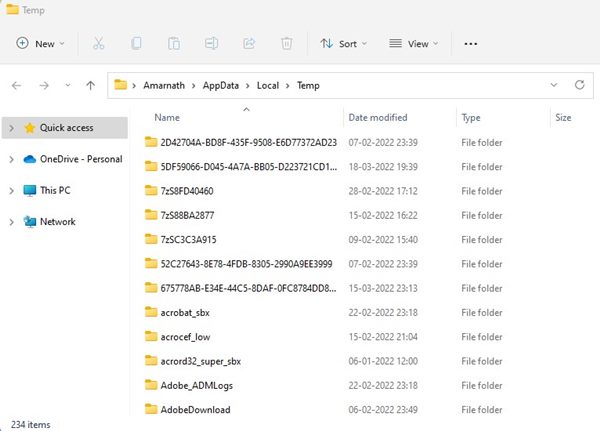
3. This will open the Temp folder on your system. You need to delete everything.
5. Flush DNS Cache in Windows 11
Windows 11 also allows you to flush the DNS cache in simple steps. Clearing the DNS cache will fix internet-related problems on your PC.
Windows 11 doesn’t provide a direct option to flush the DNS cache. You need to rely on the Command Prompt to clear your DNS cache in Windows 11. Follow our detailed guide on how to flush the DNS cache in Windows 11.
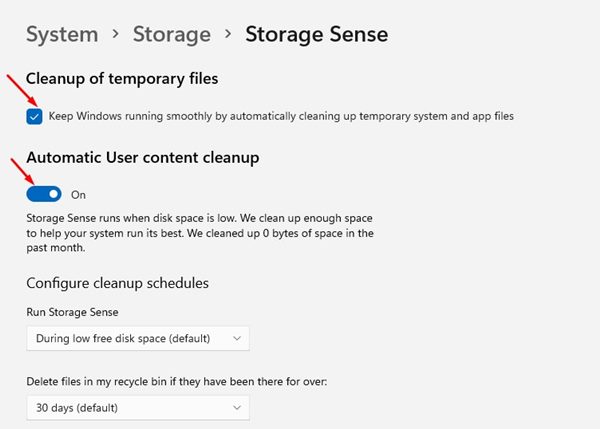
6. Configure Storage Sense on Windows 11
Storage Sense is a built-in feature of Windows 11 that automatically cleans junk files. You can configure Storage Sense on your PC to delete Recycle bin items, app cache, icon cache, and more.
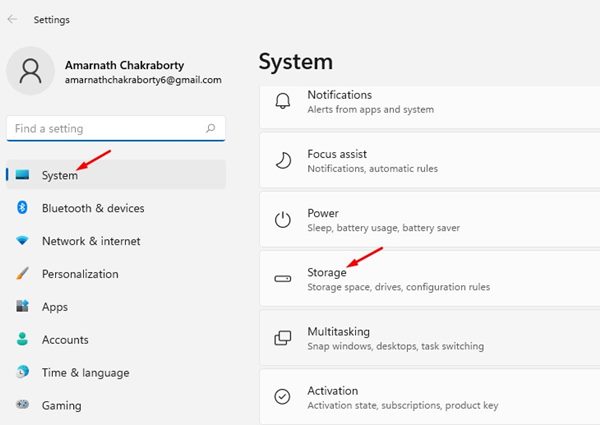
1. Navigate to the Settings > System > Storage.
2. Turn on the Storage Sense toggle. Click Storage Sense.
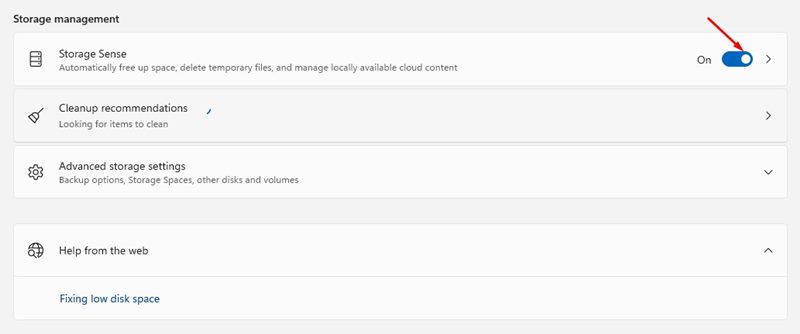
3. Enable the first two options.
7. Clear Microsoft Store Cache
If you are experiencing problems related to the Microsoft Store, you need to clear the Microsoft Store cache files. Clearing the Microsoft Store cache will fix issues such as apps not downloading, Microsoft Store not opening, etc.
1. Press the Windows Key + R button on your Keyboard. This will open the RUN dialog box.
2. Type WSReset and press Enter.
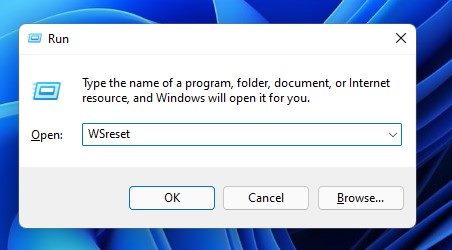
3. This will flush the Microsoft Store cache on your Windows 11.

8. Use Advanced SystemCare
Advanced SystemCare from iObit is an ultimate third-party tool for speeding up computers and cleaning up junk files, leftovers, caches, and browser cache files.
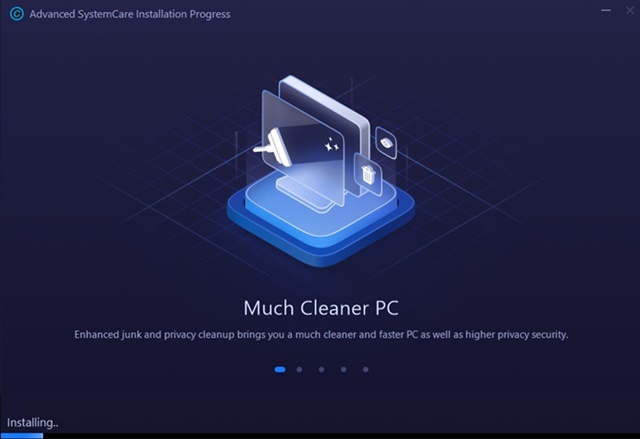
1. Download & install the latest version of Advanced SystemCare Installer on your computer.
2. Open the installer file and uncheck the bundled programs.

3. Click on Install.
4. Wait until Advanced System Care installs on your computer.
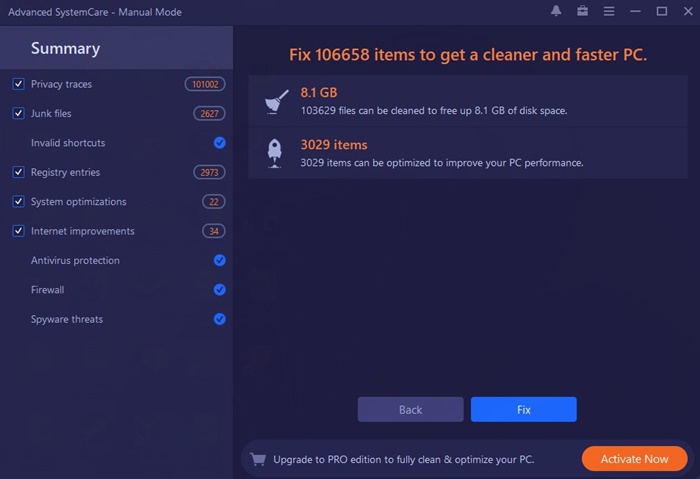
5. Once installed, open the program and switch to Manual mode. Now select all relevant cleanup items and click on the Scan button.
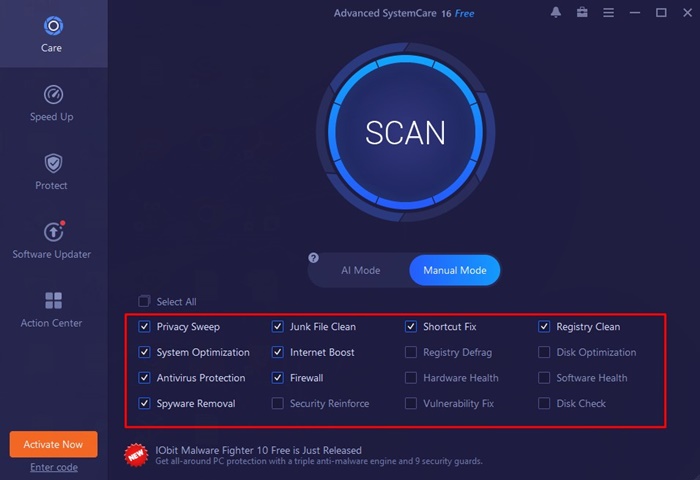
6. Advanced SystemCare will find all files that can be cleaned from your computer. Click on the Fix button to clean the junk and cache files.
These are the best methods to clear the cache in Windows 11. Clearing the cache will also free up some storage space on your system. If you have any doubts related to this, let us know in the comment box below.
The post 8 Best Ways to Clear Cache in Windows 11 appeared first on TechViral.
from TechViral


0 Comments