
If you suspect a single file or a folder has a virus or malware, instead of scanning your entire system, you can scan that particular file/folder. Here’s how to scan a single file or folder using Windows Security.
1. Run a Custom Scan from the Windows Security App
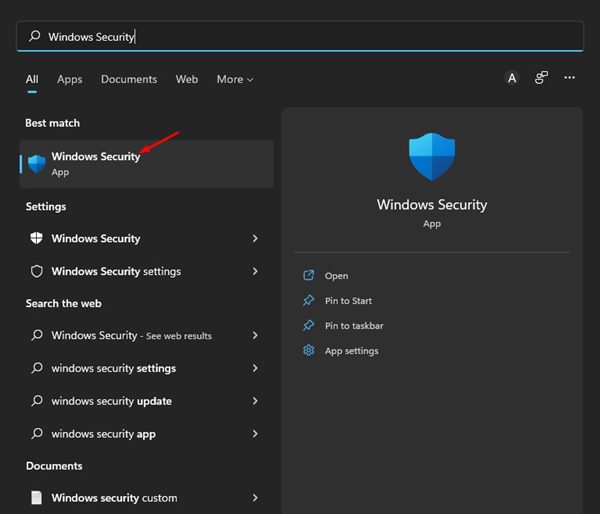
1. Open the Windows Security app from the Windows Search.
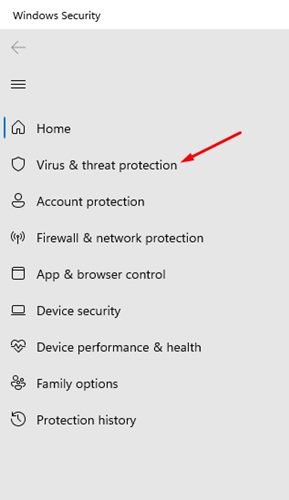
2. Click on the Virus & threat protection.
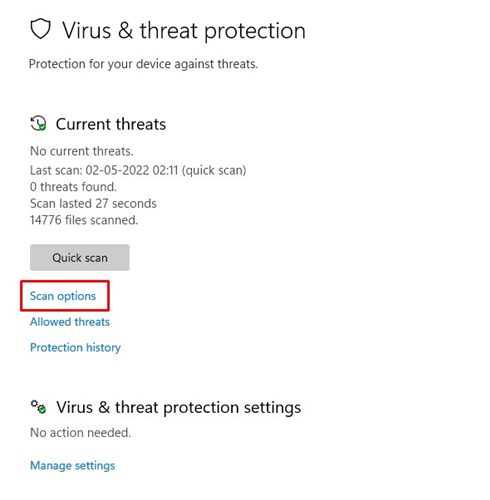
3. Click the Scan options link underneath the Current Threats.
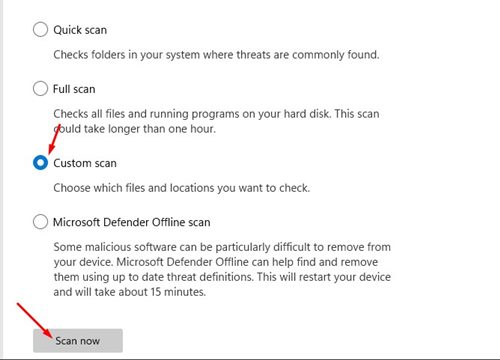
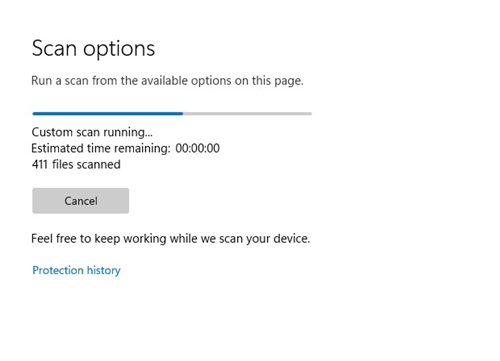
4. Select the Custom Scan option. Next, click Scan Now.
5. You will be asked to select the file or folder you want to scan. Select the folder you want to scan.
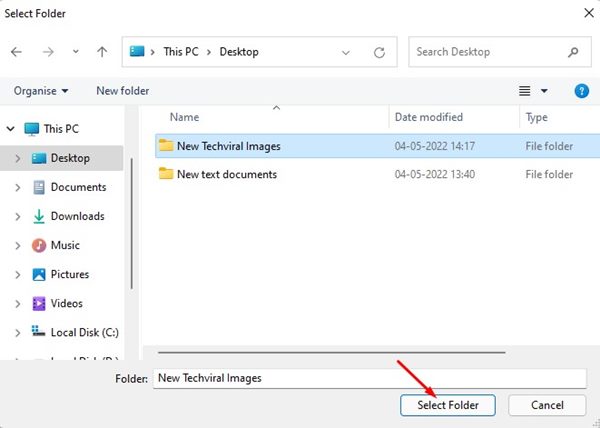
Note: You can’t select files. To scan a specific file, move it to a folder and then select that folder in the Windows Security app.
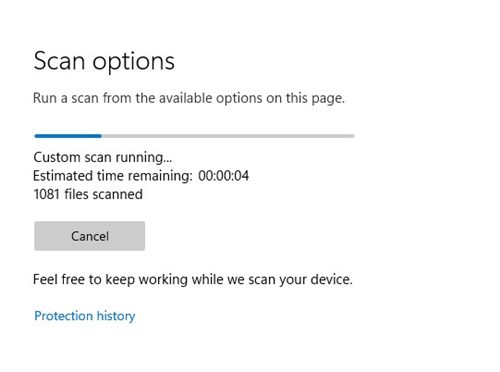
6. Click the Select Folder button. The Windows Security app will run the Scan.
2. Scan a Single file or Folder via the Context Menu
If you use Windows Security as the default security app on Windows 11, you can run a custom scan via the Context menu.
- Locate the file or folder you want to scan.
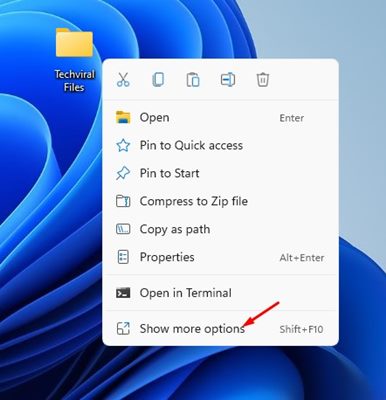
2. Right-click on the File or folder and select Show more options.
3. Click on the Scan with Microsoft Defender option on the Classic context menu.
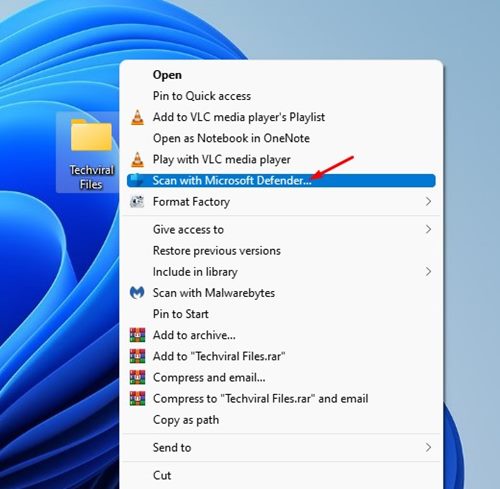
4. The Windows Security app will immediately scan the selected file or folder.
Windows Security is a robust security tool that every user should use. These are the two best ways to scan a single file or folder in Windows 11. Compared to Full Scans, Quick scans on Windows 11 take less time to complete.
The post How to Scan a Single File or Folder With Windows Security appeared first on TechViral.
from TechViral


0 Comments