

On Windows 11, you can make changes to the sound settings to improve the audio quality. Hence, if you want to improve the audio quality of your Windows 11 PC, here are some important changes you should make.
1. Restart Your Computer
Most of the time, a restart can solve the problem, whether an operating system problem or an audio driver problem. There is a high chance of resolving the problem by doing a simple restart. Click the Windows Start button, click on the Power menu, and select Restart.
2. Reconnect the Audio Device
You will face a sound distortion issue if the audio jack is not fitted correctly. The best way to resolve such an issue is to reconnect the audio device.
Turn off your PC and unplug the audio jack, then plug it back into the correct port. This will most probably fix the sound problem.
3. Change the Output Sound device
Sometimes, Windows 11 can fail to detect a newly added sound device. To change the output sound device, follow these steps.
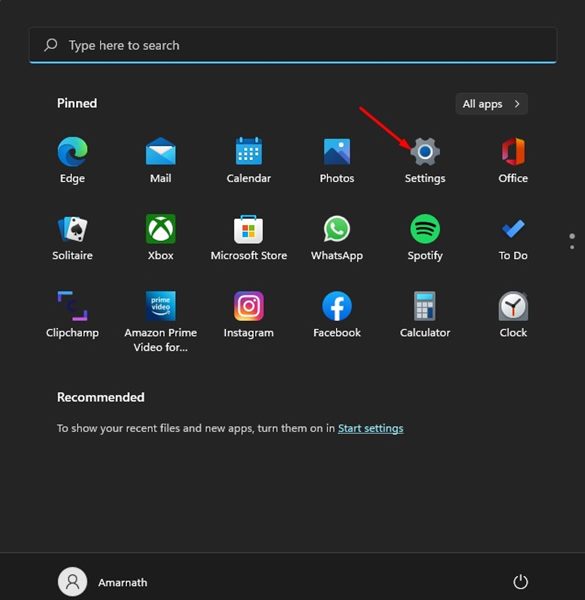
1. Click on the Windows 11 Start menu and select Settings.
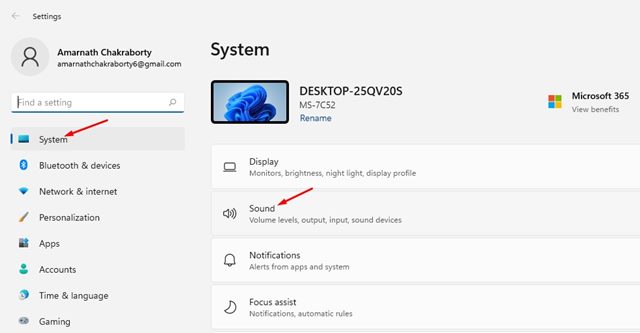
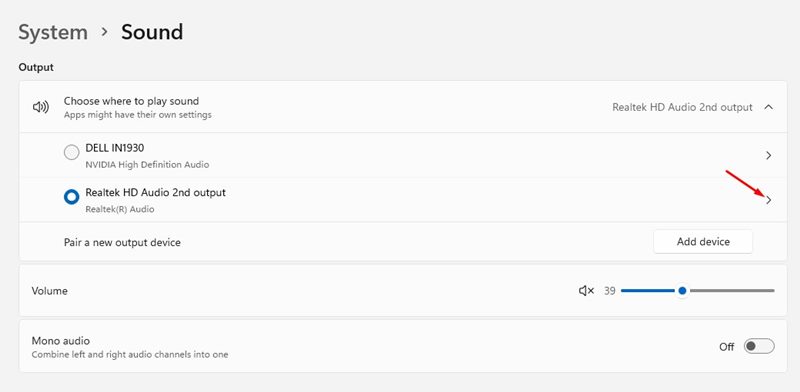
2. Click on the System. On the right, click on the Sound option.
3. Select the new sound device you just plugged in.
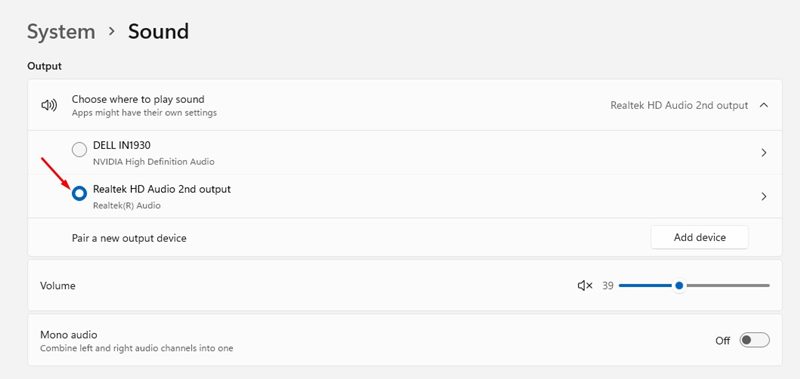
This will force Windows 11 to use the new sound device you have just plugged in.
4. Update the Audio Driver from the Device Manager
Updating the audio driver is an evergreen method for dealing with many audio issues. If you haven’t updated your PC for a while, it’s the best time to update the audio drivers manually.
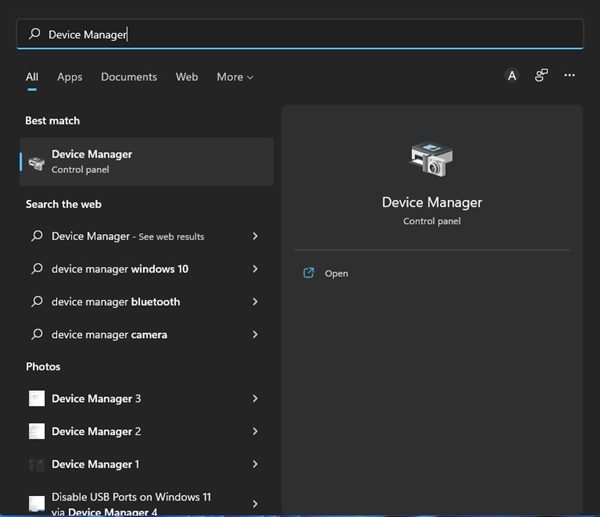
1. Type Device Manager in the Windows 11 search and open it.
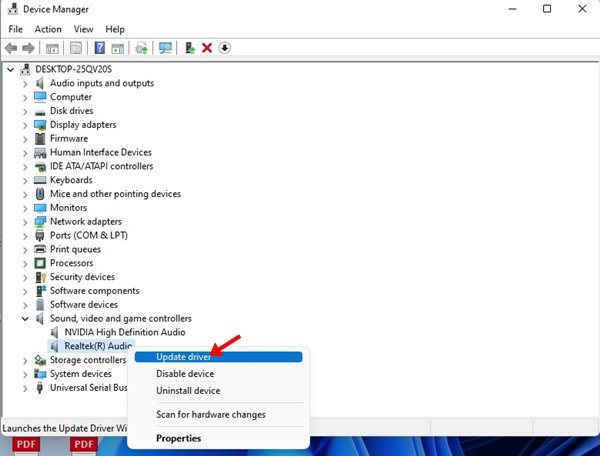
2. Expand the Sound, Video, and Game Controllers.

3. Right-click on the audio driver and select Update driver.
4. Select Search automatically for updated driver software.
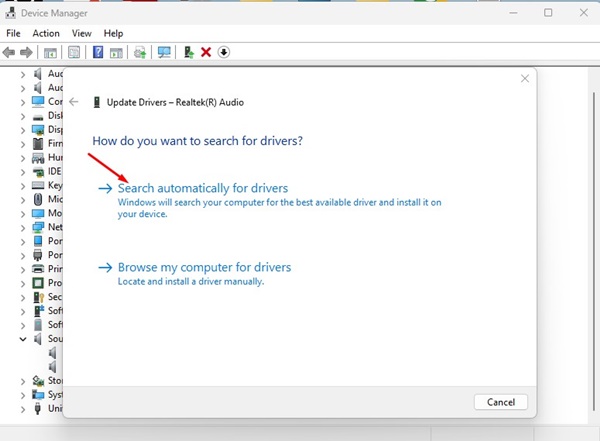
Windows will automatically search for newer versions of the Audio driver and install them on your device.
5. Enable Spatial Sound
Windows 11 has a feature that lets you enable Spatial Sound when you are using Headphones. This feature gives an immersive audio experience that simulates a realistic environment.
1. Click on the Windows 11 Start menu and select Settings.
2. Select System > Sound.
3. Click the arrow button behind the Sound output device you use.
4. Scroll down and find the Spatial Sound option. Change its type to Windows Sonic for Headphones.
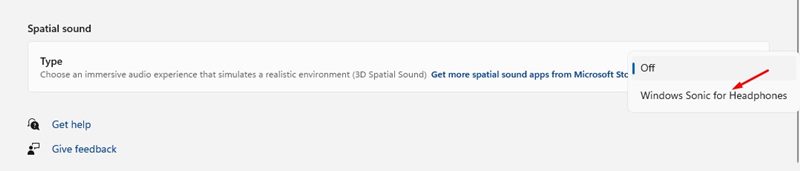
This will enable Spatial audio on Windows 11, and you will get an immersive sound experience.
6. Enable/Disable Enhanced Audio
The Audio Enhancement feature introduced on Windows 11 might be a gimmick for many, but it worked in my case. Please note that enabling the Audio Enhancement on some PCs might make things even worse, so it’s best to try enabling/disabling it.
1. Click on the Windows 11 Start menu and select Settings.
2. Select System > Sound.
3. Click the arrow button behind the Sound output device you use.
4. Scroll down and find the Enhance Audio section. You need to turn on/off the toggle button to enable or disable the Enhanced Audio feature.

This will automatically improve the sound quality. However, if things get worse, you can turn off the feature.
7. Enable or Disable the Mono Audio
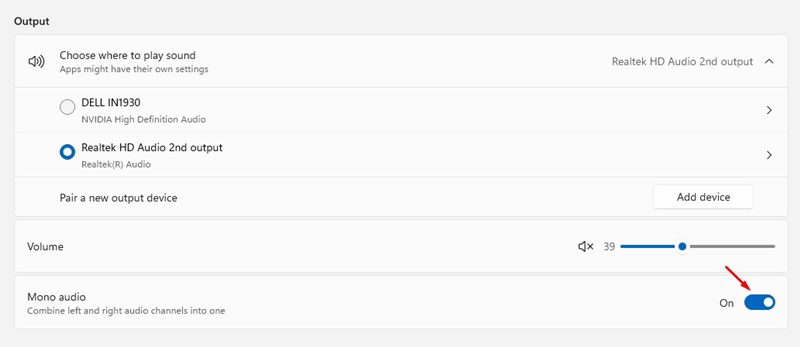
Windows 11 also includes a feature called ‘Mono Audio’. The feature combines the left and right audio channels into one single channel. If you enable the mono audio, you can use just one earbud with your PC but still hear both the left & right audio tracks.
We have shared a detailed guide on enabling or disabling the Mono Audio on Windows 11. Read that article to know the benefits of enabling the Mono audio on Windows 10 and Windows 11.
8. Adjust the Left & Right Sound
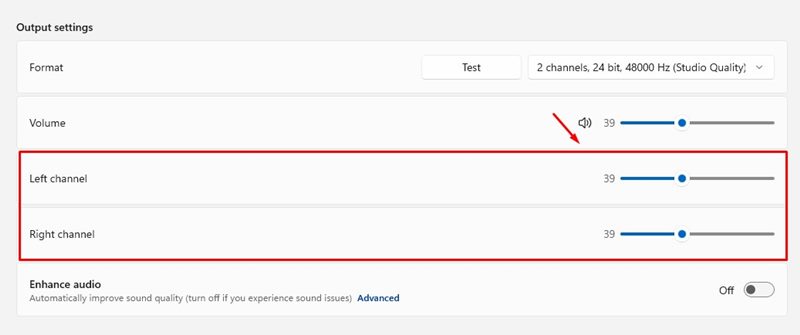
If you encounter problems with one earbud being louder than the other, you might want to adjust the left and right sound channels manually. Here’s how to adjust it.
1. Click on the Windows 11 Start menu and select Settings.
2. Select System > Sound.
3. Click the arrow button behind the Sound output device you use.
4. On the Output setting, drag the slider beside the left and right channels to adjust the volume.
9. Run the Audio Troubleshooter
If you are still facing sound-related problems, it’s best to run the Audio Troubleshooter. Windows Audio Troubleshooter can easily detect and fix various sound-related problems on your PC.
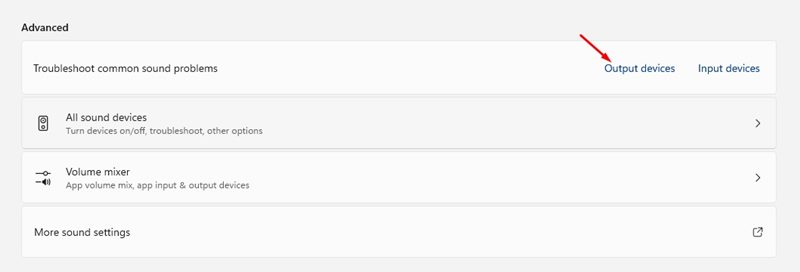
1. Click the Windows 11 search and type in Sound Settings.
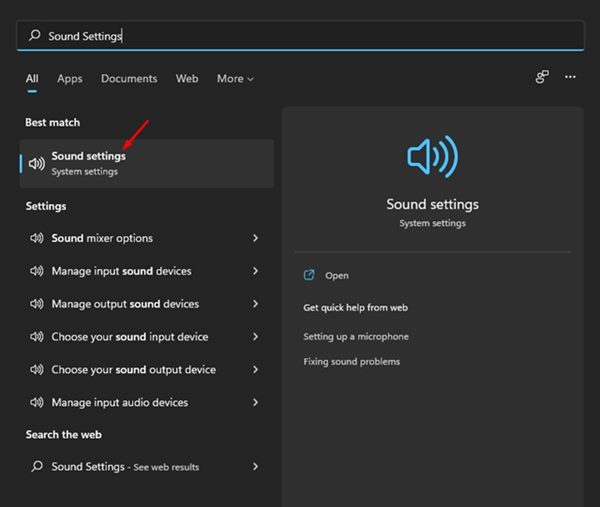
2. Scroll down to the Advanced Section. Next, click on Output devices beside Troubleshoot common sound problems.
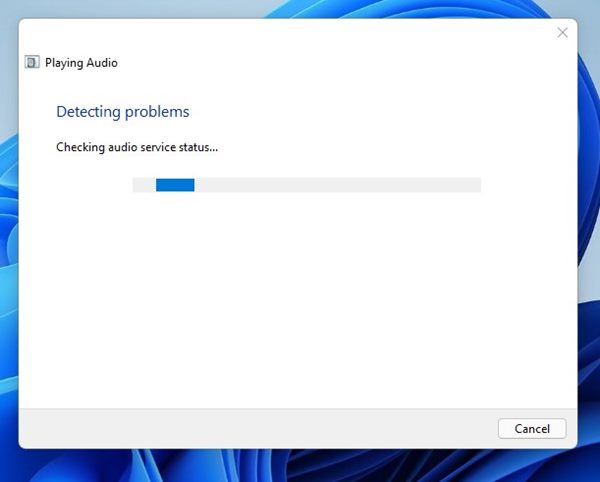
3. This will run the Windows Audio Troubleshooter. Wait a few seconds for the process to complete.
This is all about how to change sound settings on Windows 11 to improve the Audio. These methods will also help you fix various audio-related problems on your PC. If you have any doubts, let us know in the comment box below.
The post How to Change Sound Settings on Windows to Improve Audio Quality appeared first on TechViral.
from TechViral


0 Comments