
If specific drivers fail to load during Windows Startup, you get an error that reads, ‘A Driver Can’t load on this device.’ The error usually appears when Windows tries to install an unsigned driver or due to third-party apps. If you’ve encountered the same error, here’s what you should do.
1. Update the Driver
If the driver installed for a specific hardware component is incompatible, Windows 11 will show you this error. To resolve this, manually update the problematic driver from the Device Manager.
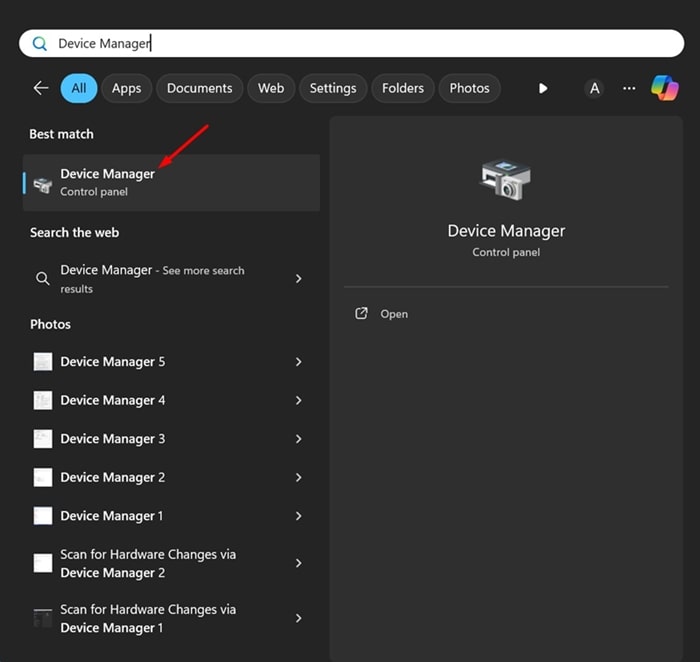
1. Open the Device Manager app from the Windows Search.
2. Right-click on the problematic driver and select Update Driver.

3. Select Search Automatically for Drivers.
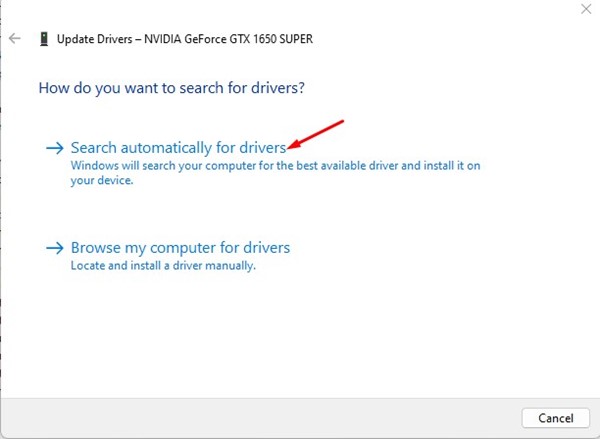
Follow the on-screen instructions to complete the driver update process.
2. Roll Back the Driver Update
If your drivers are already up to date and you still get the ‘A driver cannot load on this device’ error, try rolling back the drivers to the previous version.
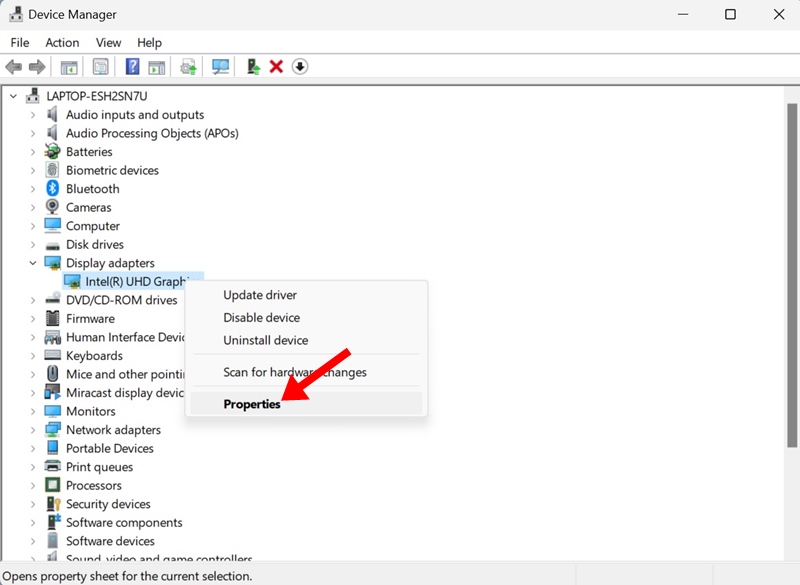
1. Open the Device Manager app from the Windows Search.
2. Right-click on the problematic driver and select Properties.
3. Switch to the Driver tab and click on Roll Back Driver (If available).
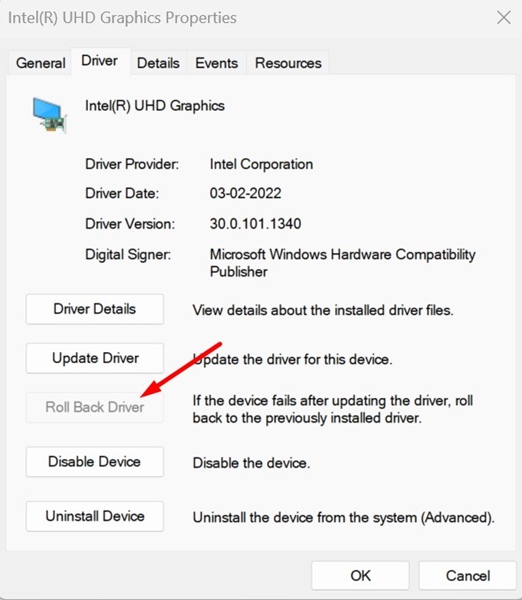
After rolling back the driver updates, restart your Windows 11 PC.
3. Disable the Memory Integrity Feature
The Memory Integrity settings in the Windows Security app sometimes prevent drivers from loading on your device and trigger the error. If you use the Windows Security app to safeguard your PC from security threats, you can try turning off the Memory Integrity settings.
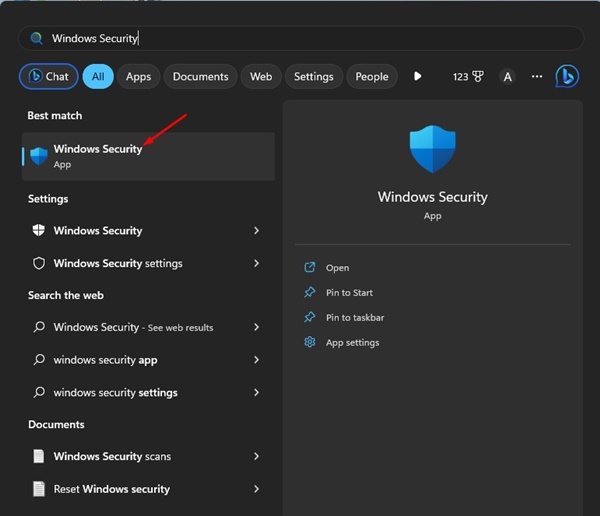
1. Open the Windows Security app on your PC.
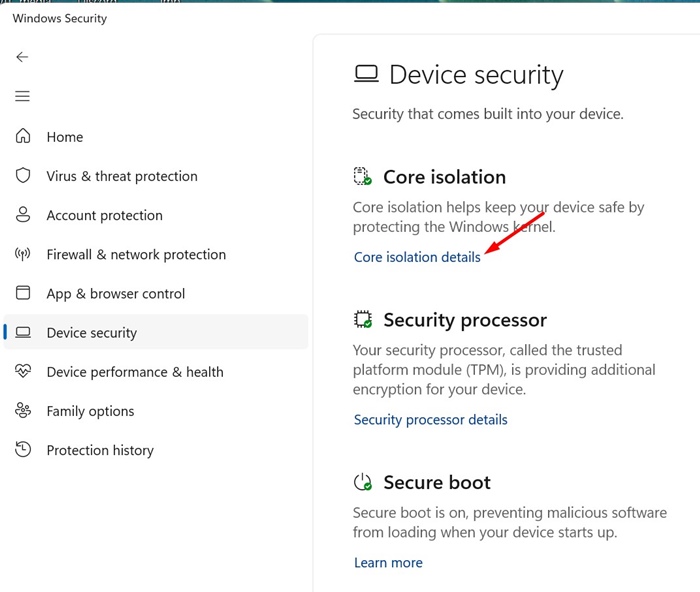
2. Switch to the Device Security tab.

3. Click on Core isolation details.
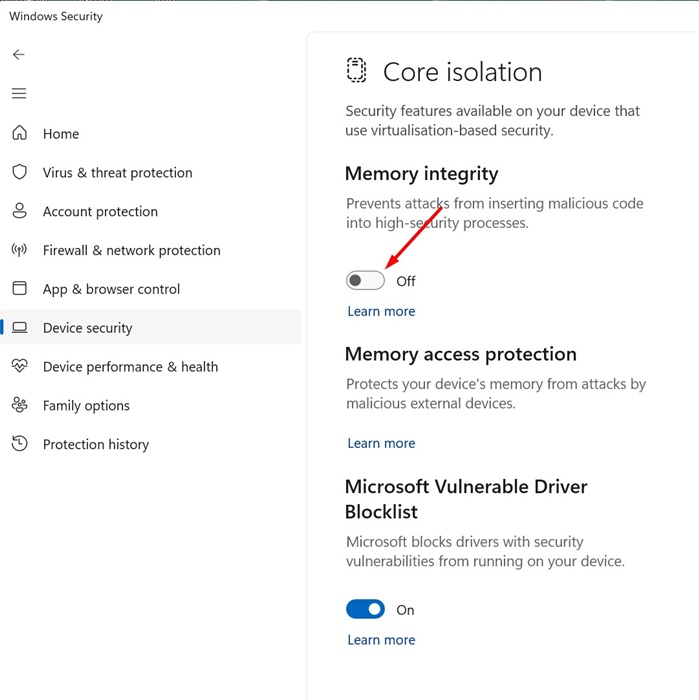
4. Turn off the toggle for Memory Integrity.
4. Install the Optional Windows Updates
Optional Windows Updates can sometimes contain essential drivers for your device components. They are equally important as other system updates; here’s how to install all optional Windows updates.
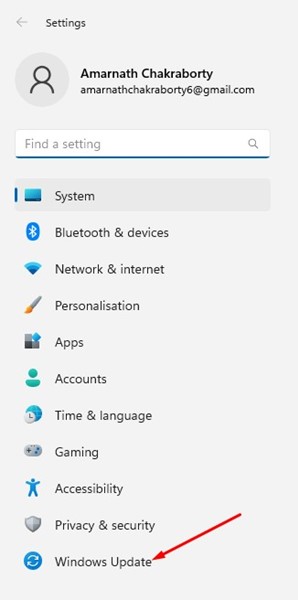
1. Open the Settings app on Windows 11 and switch to Windows Update.
2. Click on Advanced options.
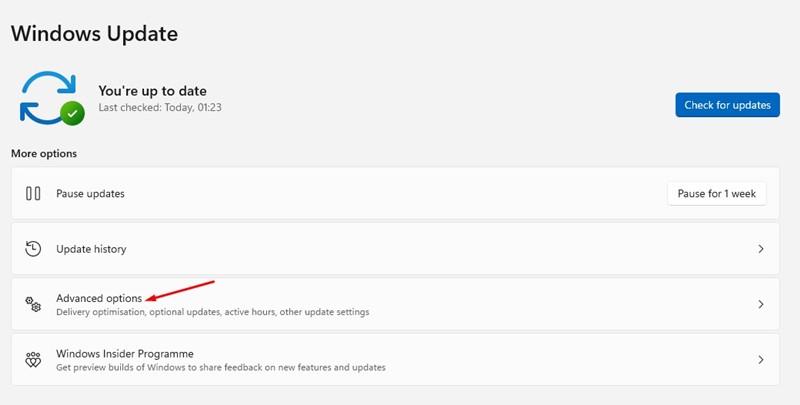
3. Scroll down to the Additional Options section and click Optional Updates.
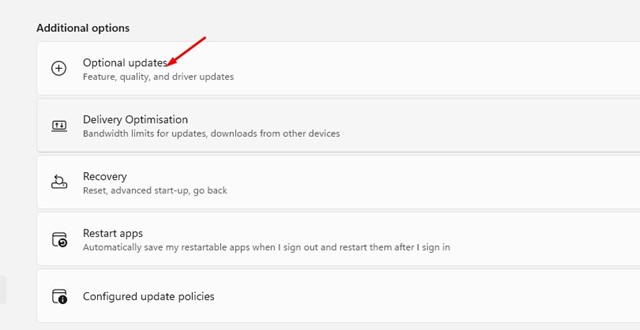
4. Check if any driver update is pending installation. If it is, click on the Download & Install button.
5. Modify the Registry File
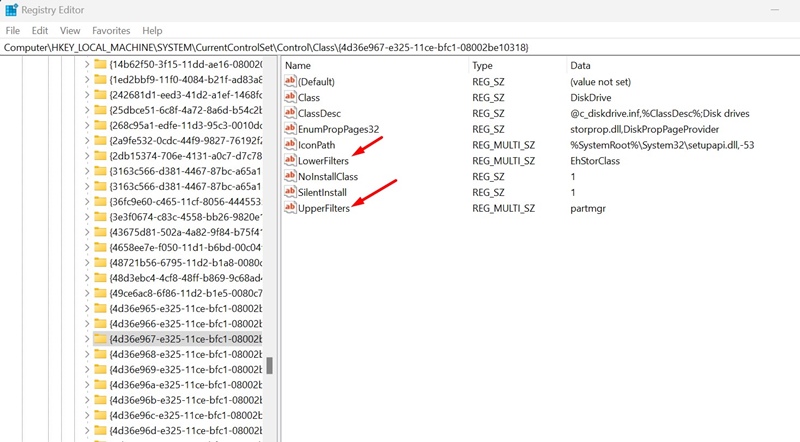
To fix this error, you can delete the UpperFilters and LowerFilters registry entries linked to the problematic device. Here’s what you need to do.
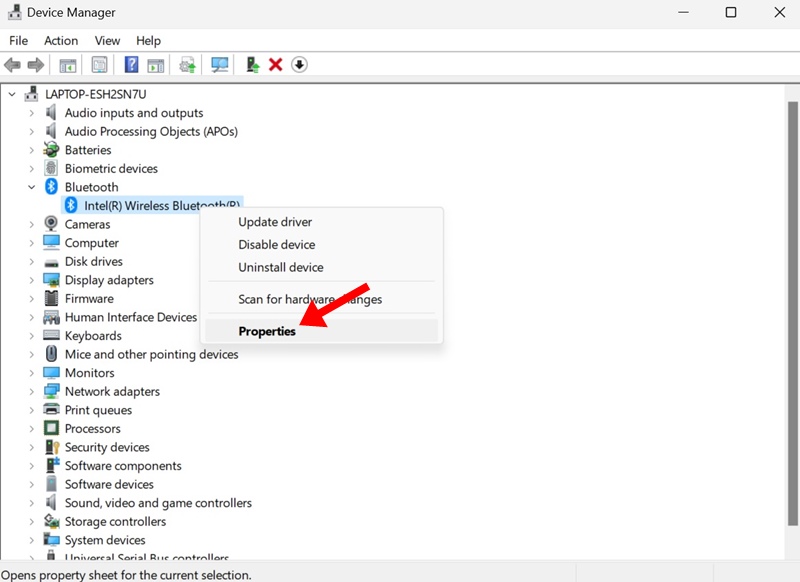
1. Open the Device Manager and locate the problematic driver. Right-click on it and select Properties.
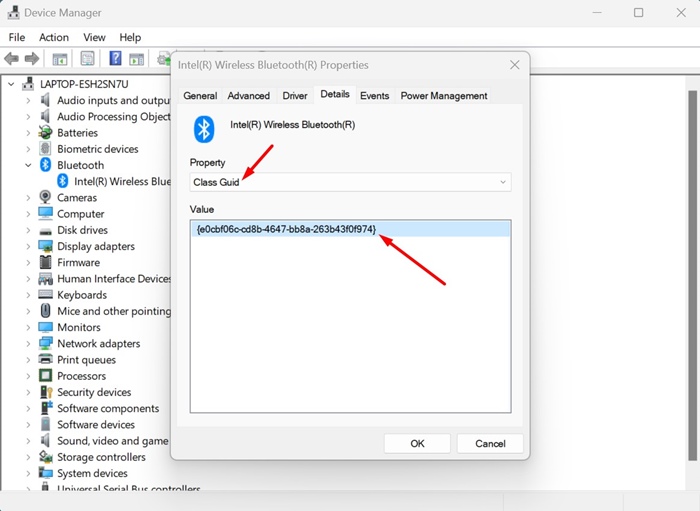
2. Switch to the Details tab and select ‘Class Guid’ on the Property drop-down. Next, note down the value that appears.
3. Open Registry Editor and navigate to this path:
HKEY_LOCAL_MACHINE\SYSTEM\CurrentControlSet\Control\Class
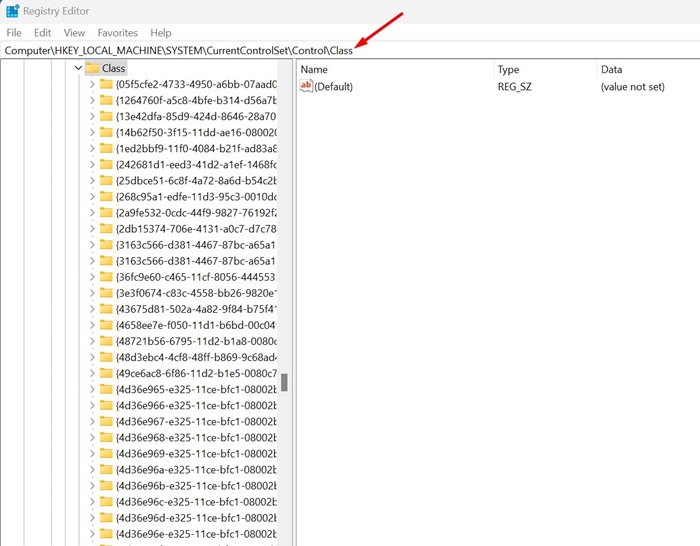
4. Locate the Class Guid value you’ve noted. Select the Class Guid
5. Delete the UpperFilter and LoweFilter entries.
After making the change, restart your PC.
6. Perform a System Restore
If everything else has failed to fix the ‘A Driver can’t load on this device’ error message, system restore is the only hope left. You can perform a system restore to undo the recent changes made to the system settings.
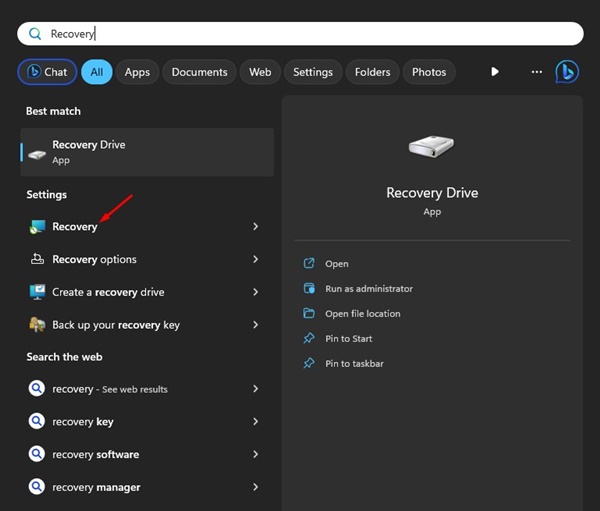
1. Open the Recovery app from the Windows Search.
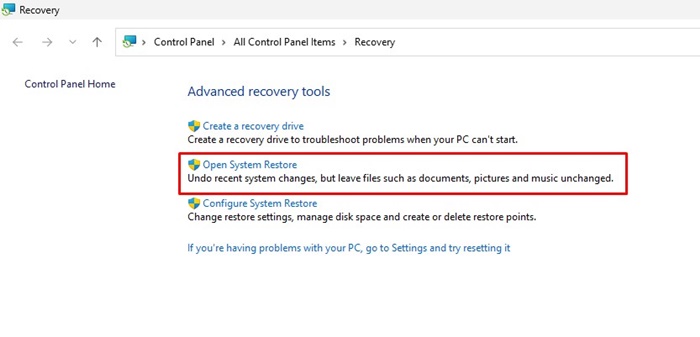
2. Click on Open System Restore.
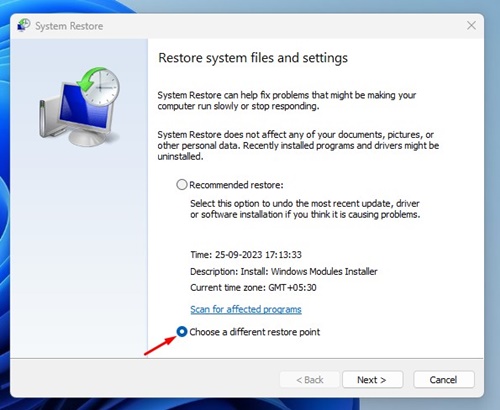
3. Select Choose a different restore point and click Next.
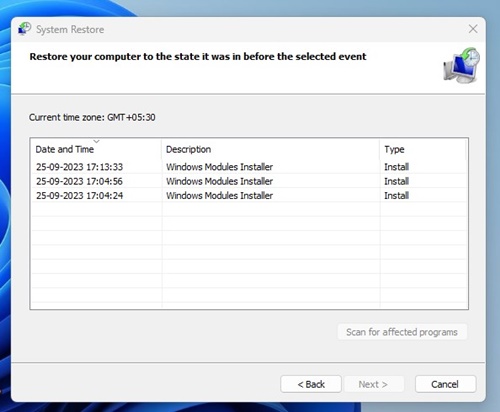
4. Select a Restore point of an earlier date. Select the point before the first appearance of an error.
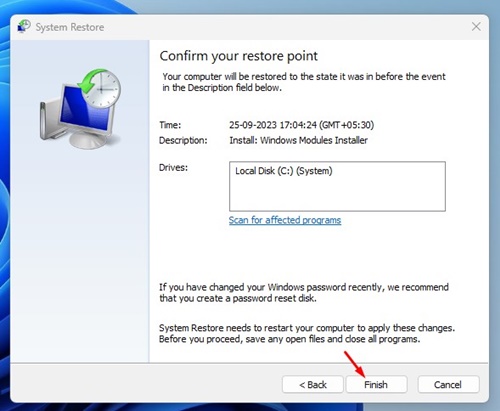
5. On the Confirm Your Restore Point prompt, select Finish.
These are the best ways to fix the ‘A Driver Can’t Load on this device’ error message. Let us know if you need more help resolving this error in the comments.
The post How to Fix ‘A Driver Can’t Load on This Device’ Error appeared first on TechViral.
from TechViral


0 Comments