

After installing a recent update released for Windows 11, users have reported issues with the Taskbar and Settings not working. Below are some effective solutions for fixing taskbar problems on Windows 11.
Why are Taskbar and Settings not working after the update?
You may have enrolled your device to receive beta updates, which is why you’re facing trouble. The updates released on the Beta and Dev channels usually contain bugs and glitches that may ruin your PC experience.
These updates are designed for developers to find and fix the underlying issues in the operating system. If you’re not a Windows Insider, corrupted system files or fewer RAM resources could be the reason for the Taskbar and Settings not working. Anyway, here’s what you can do to resolve the problem.
1. Restart your Windows 11 PC
Restarting helps eliminate bugs and glitches that may be preventing the Taskbar and the Settings app from functioning. Also, it’s a good idea to restart the PC at regular intervals to ensure smooth performance and stability.
It’s pretty easy to restart a Windows 11 PC; to do so, simply click on the Windows 11 Start button and click on Power Menu. On the Power Menu, select Restart.
2. Restart the Windows Explorer Process
Windows Explorer is the process responsible for handling various visual features of your PC. If it’s not working properly, you will have problems operating the Taskbar, Settings app, etc. You can try restarting the Windows Explorer Process and see if it helps. Here’s what you need to do.
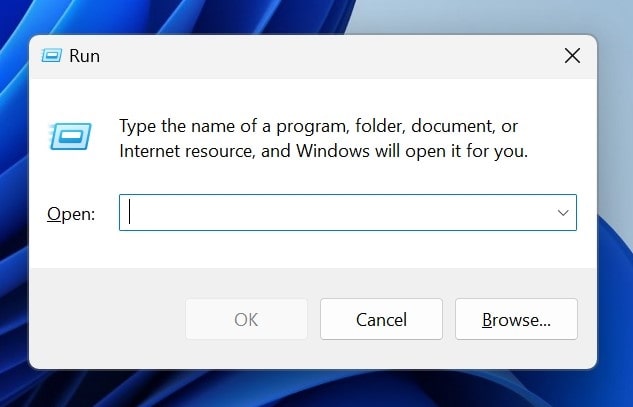
1. Press the Windows Key + R button on your keyboard. This will open the RUN dialog box.
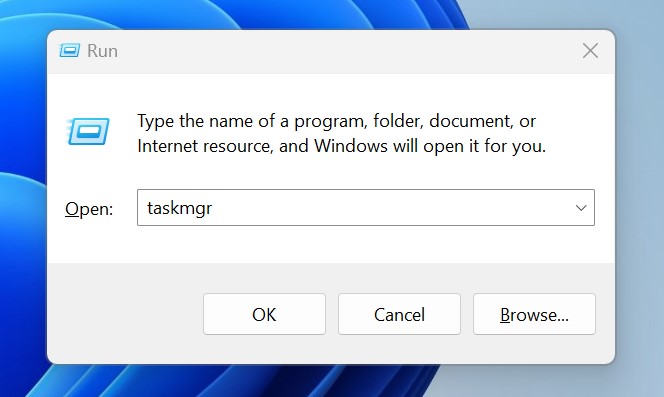
2. Type in Taskmgr in the RUN dialog box and press Enter.
3. Switch to the Processes tab.
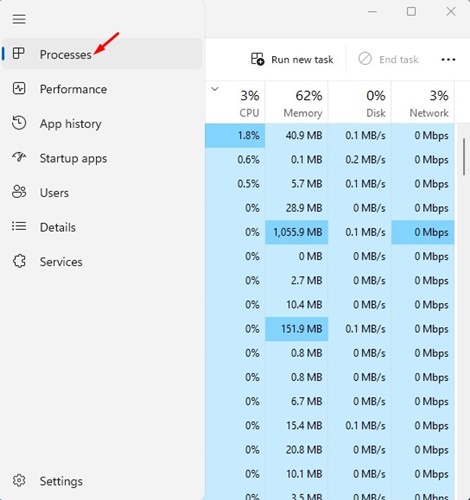
4. Find and right-click on the Windows Explorer process and select Restart.

3. Roll Back Windows Updates
Since you are facing problems with the Taskbar and Settings app after installing the latest Windows 11 update, rolling back to the previous version may help.
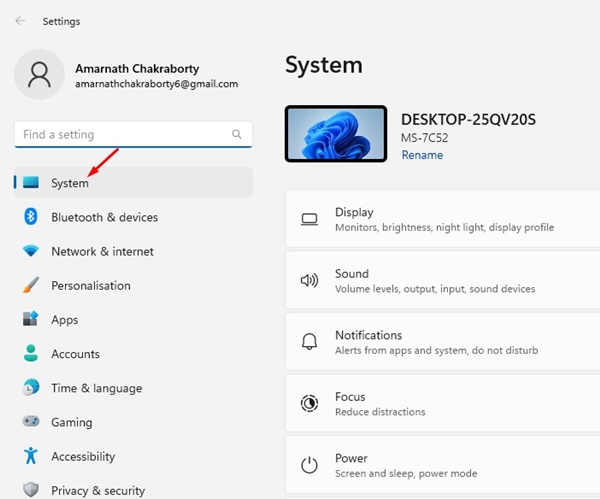
1. Press the Windows key + I button to open the Settings app.
2. Switch to the System.
3. Click on Recovery.
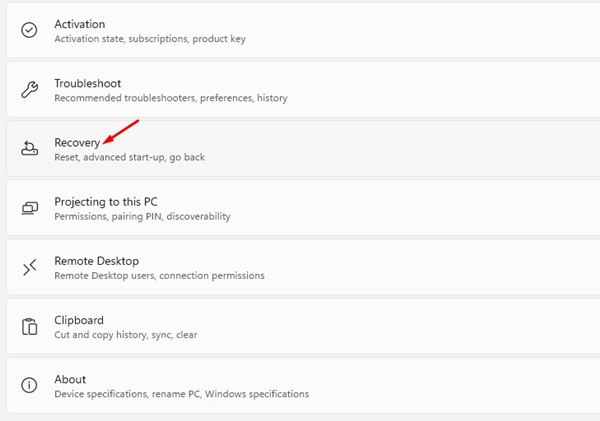
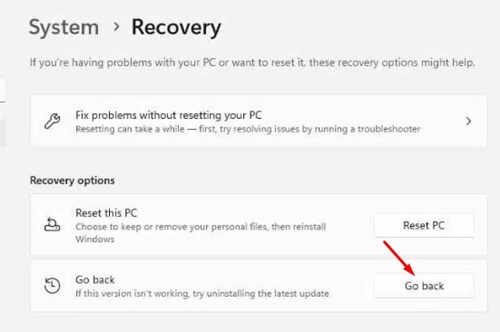
4. Click on Go back.
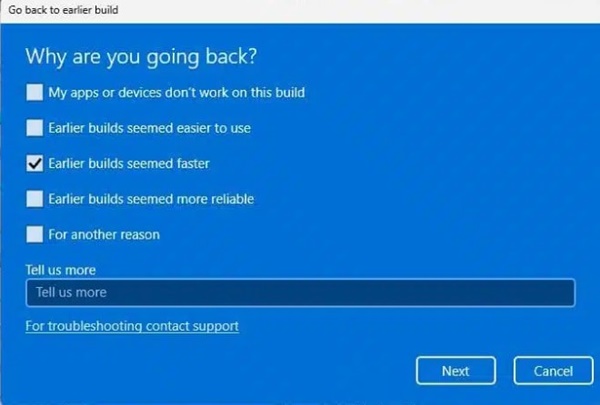
5. Tell the reason why you are going back and click Next.
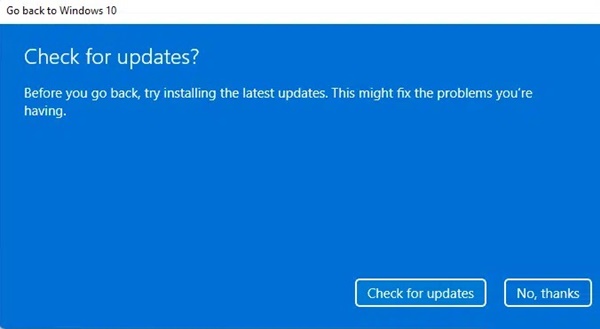
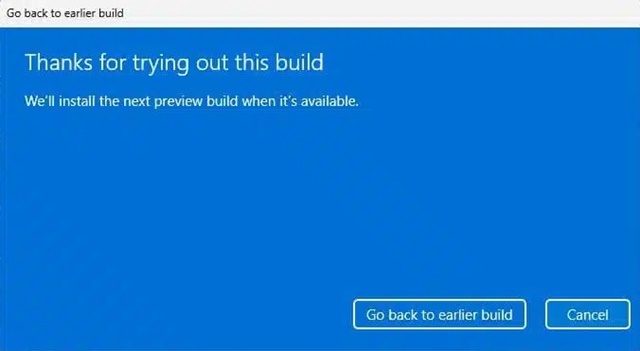
6. On the Check for Updates screen, click on No, Thanks.
7. On the Thanks for trying out this build screen, click on Go back to earlier build.
4. Run the SFC/DISM Commands
During the update installation, certain system files may get corrupted, leading to an issue with the Taskbar and Settings app not working. You can rule out the corrupted system files issue by running the SFC/DISM commands on your Windows 11 PC. Here’s what you need to do.
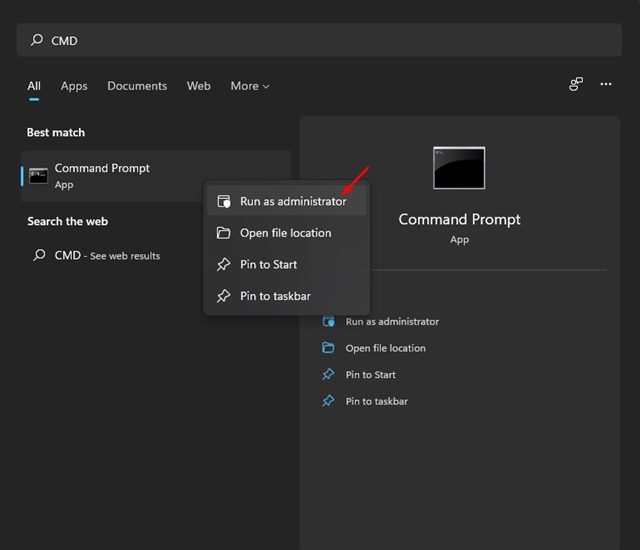
1. Type in Command Prompt on the Windows 11 Search. Right-click on the Command Prompt and select Run as administrator.
2. Execute this given command:
sfc /scannow

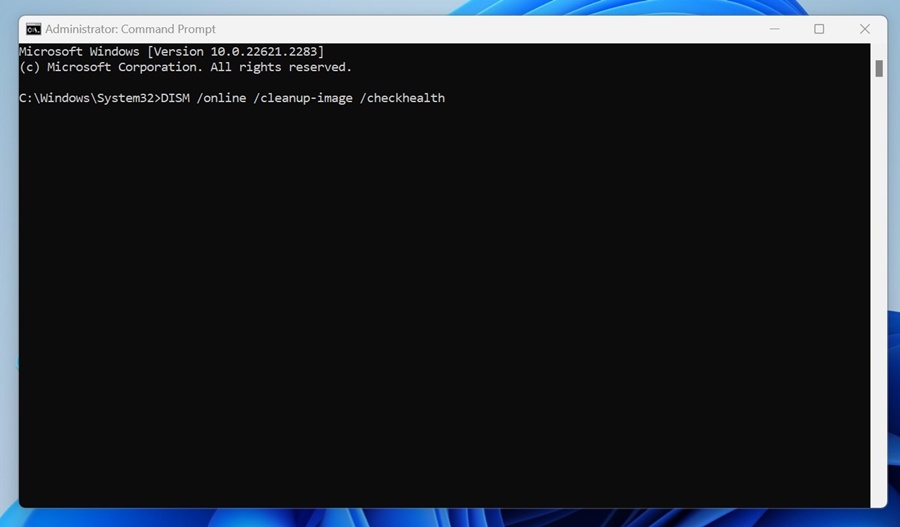
3. If the SFC scan returns with an error, you need to execute these DISM commands one by one.
Dism /Online /Cleanup-Image /CheckHealth
Dism /Online /Cleanup-Image /ScanHealth
Dism /Online /Cleanup-Image /RestoreHealth
After executing these commands, restart your Windows 11 PC. This should fix the Taskbar and System not opening issue you’re facing.
5. Use the System Restore feature
The System Restore functionality of Windows 11 lets you roll back your device settings to a previous date. If you have a system restore point available, you can use it to roll back your device. It’s easy to perform a system restore on Windows 11. Follow the steps we’ve shared below.
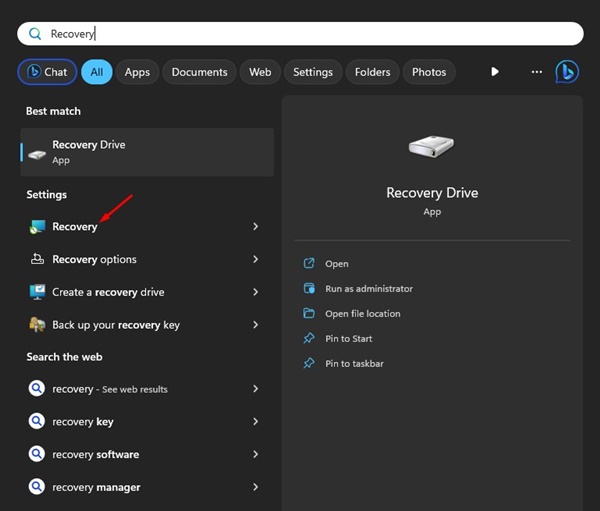
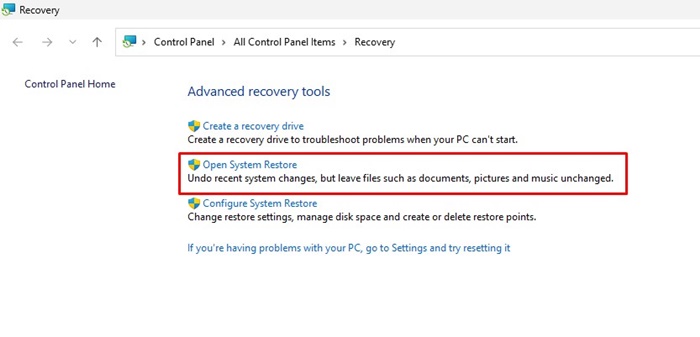
1. Open the Recovery app from Windows 11 Search.
2. Click on Open System Restore.
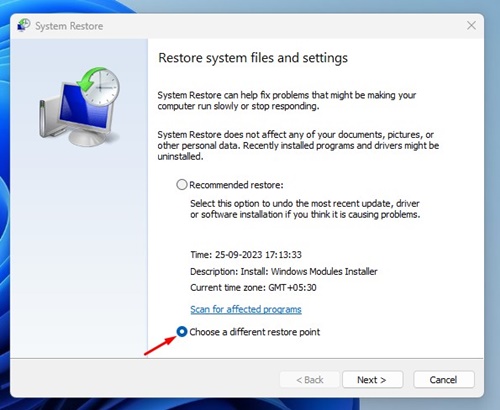
3. Select Choose a different restore point.
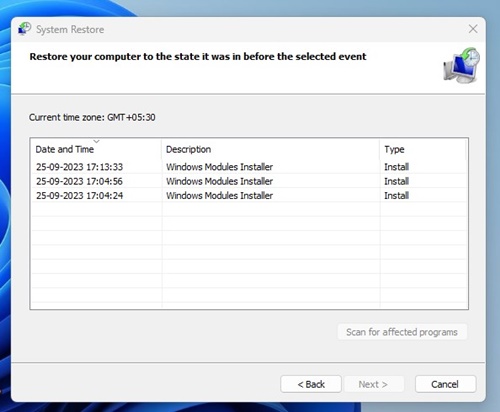
4. Select a Restore point created on a date when the Windows 11 taskbar auto hide is working fine and click Next.
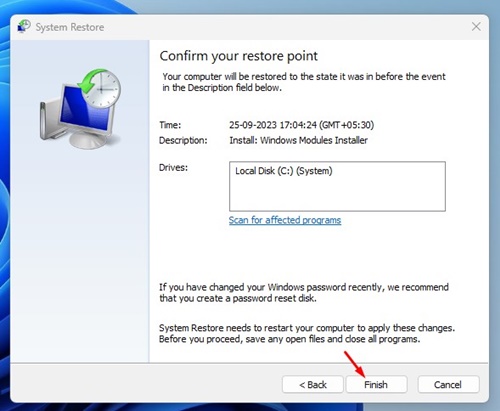
5. Click Finish.
6. Clean Boot Windows 11
Maybe the Taskbar and the Settings app aren’t working due to a third-party app. Hence, it’s recommended to perform a clean boot and check if the issue still exists. Here’s what you need to do.
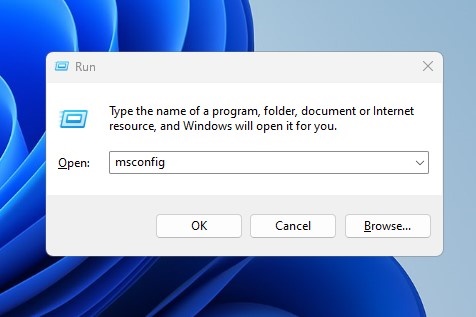
1. Press the Windows Key + R button on your keyboard. This will open the RUN dialog box. On the RUN dialog box, type msconfig and press Enter.
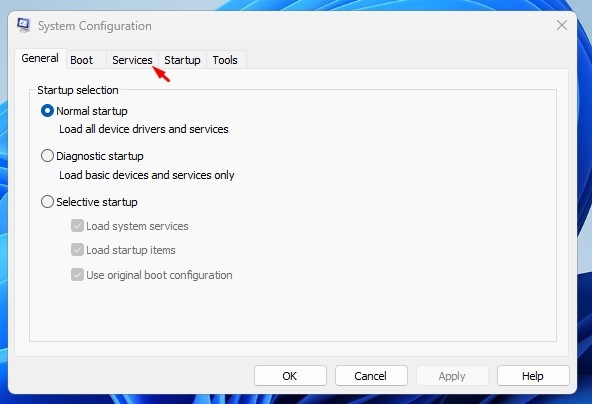
2. Switch to the Services tab.
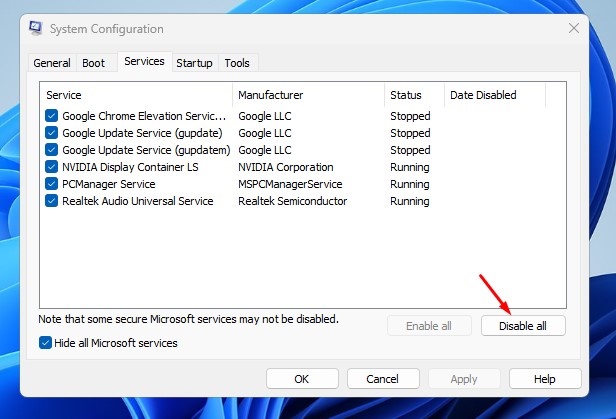
3. Check the ‘Hide All Microsoft Services’ and click Disable All.
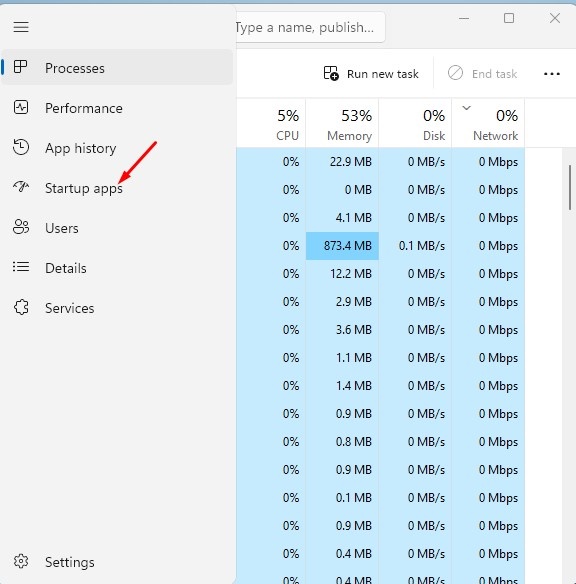
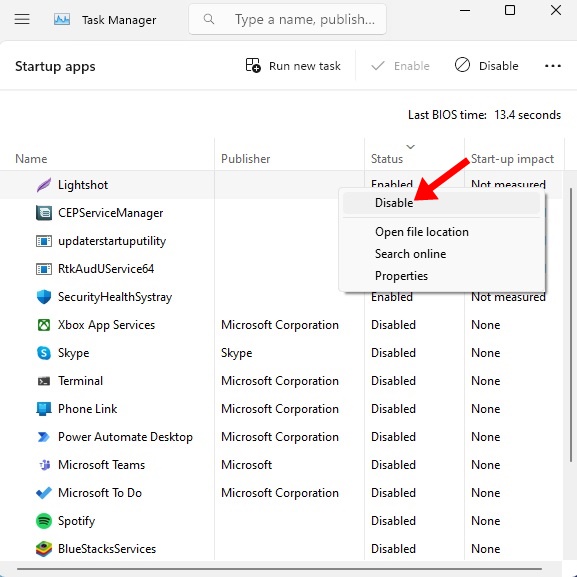
4. Open Task Manager and switch to the Startup tab.
5. Right-click on the Startup problems that are enabled and select Disable.
6. Click on Apply on the System Configuration utility and close it.
Restart your Windows 11 PC to boot into a clean environment. Check whether you can use the Taskbar, Settings, or any other apps.
7. Reset Windows 11 Settings
If nothing worked to resolve the problem, the only remaining option is to factory reset your PC. Make sure to back up your important files & folders before you reset your Windows 11 PC.
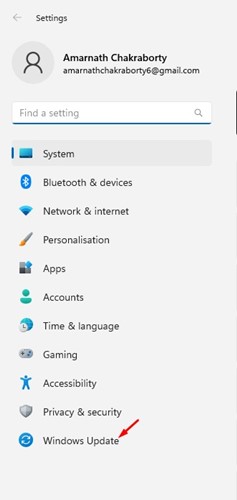
1. Press the Windows Key + I button to open the Settings. Next, switch to the Windows Update section.
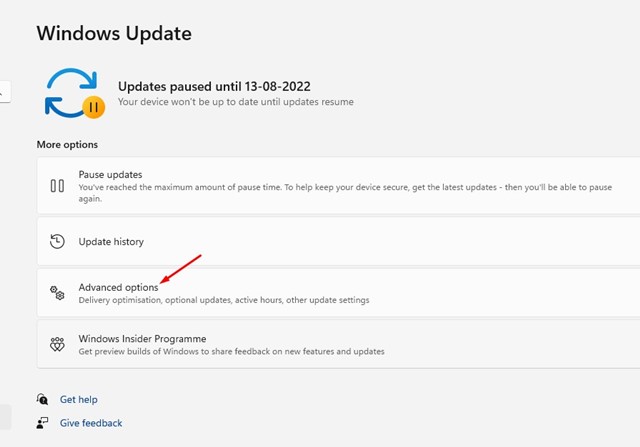
2. On the Windows Update screen, click on Advanced Options.
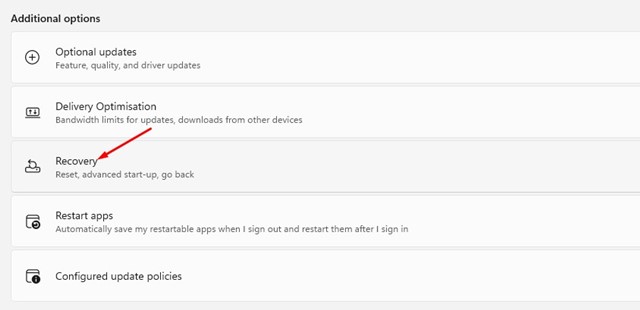
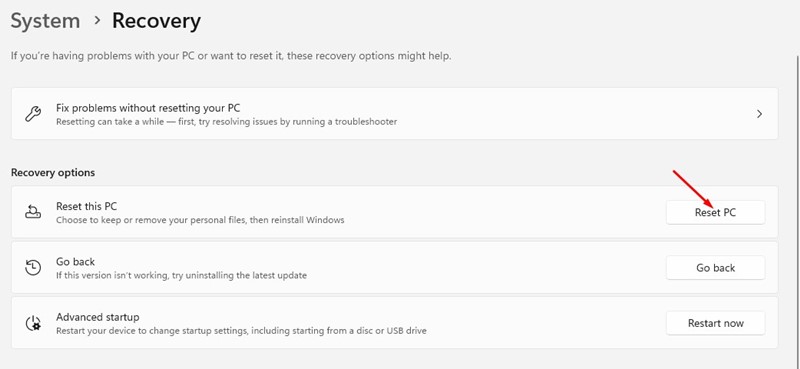
3. Click on Recovery.
4. Click the Reset PC button on the Reset this PC section.
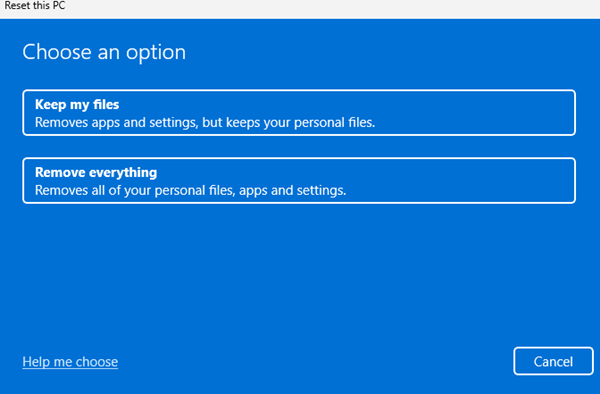
5. Select Keep my files.
6. Select Cloud Download.
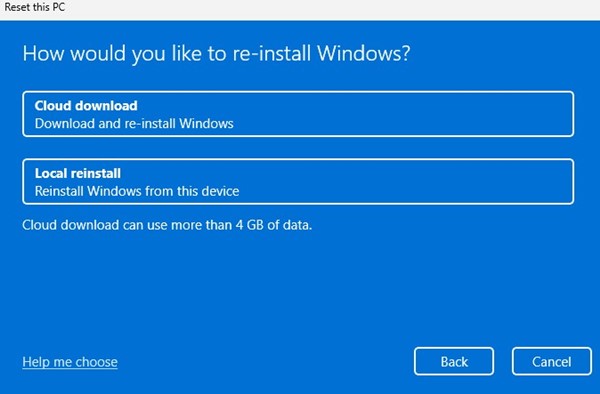
7. Click the Reset button to start the process.
These are a few simple methods to fix the Taskbar and Settings not working after the Windows 11 Update. Let us know in the comments below if you need more help on this topic.
The post How to Fix Taskbar and Settings Not Working After Windows 11 Update appeared first on TechViral.
from TechViral


0 Comments