

We are pretty sure that you may have added many user accounts to your Windows 11 PC over time. What about knowing all the user accounts you already have? There are ways to view all user accounts on Windows 11; here’s how.
1. View all user accounts on Windows 11 via Settings
One of the easiest ways to view all user accounts on Windows 11 is via Settings.
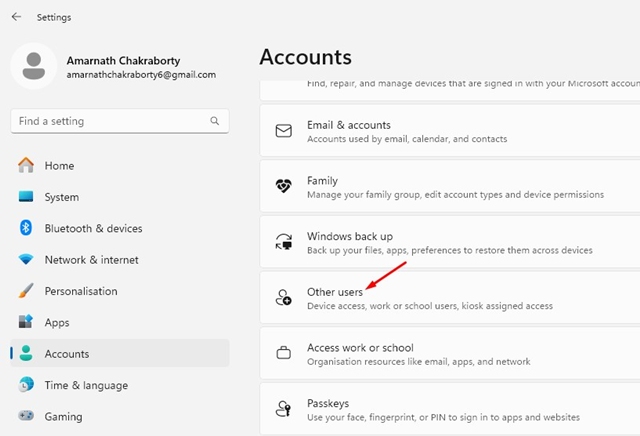
1. Launch the Settings app.
2. Switch to the Accounts tab and click Other users.
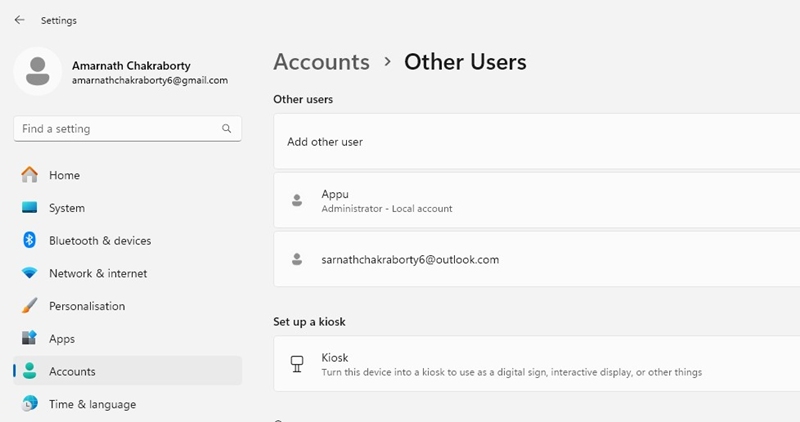
3. You will be able to see all user accounts on your PC and check their type.
2. View all User Accounts Using PowerShell
If you’re comfortable handling the command line utility, you can use PowerShell to view all user accounts.
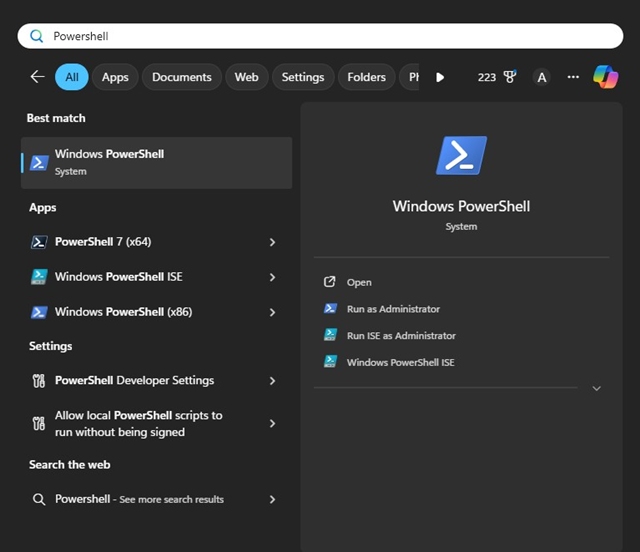
1. Type PowerShell in Windows 11 Search. Open the PowerShell app from the list of apps.
2. Type Get-LocalUser and press Enter.

3. If you want to save this detail, execute this command:
Get-LocalUser > C:\Users\Amarnath\Desktop\accounts.txt
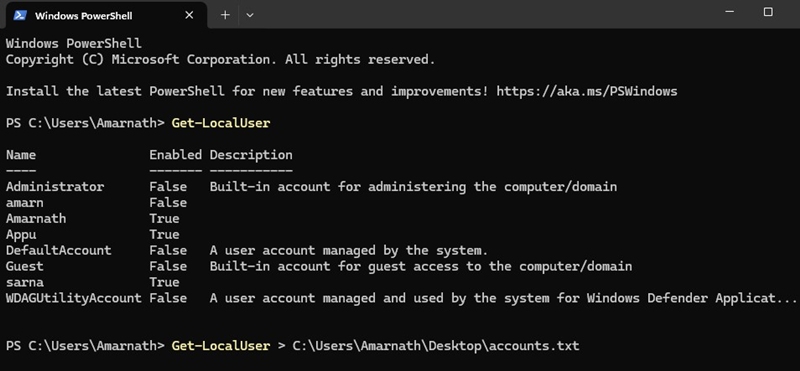
Note: You can modify the file path that starts with ‘C:\’
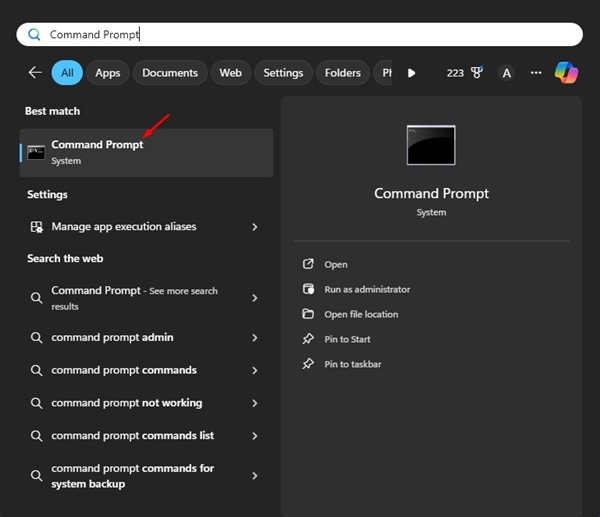
3. View all User Accounts Using Command Prompt
Like PowerShell, you can utilize the Windows 11 Command Prompt to view all user accounts.
1. Open Command Prompt on Windows 11 from the Windows Search.
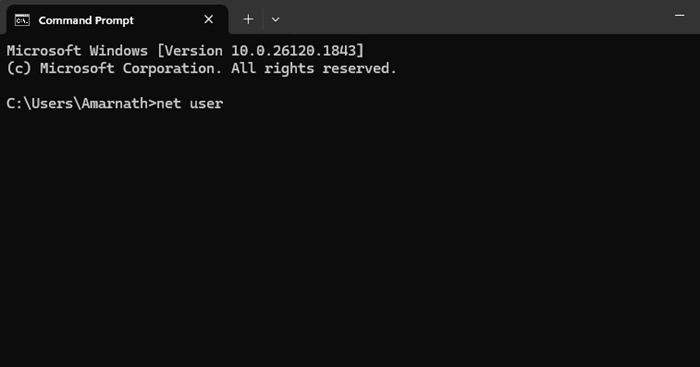
2. Execute this command:
net user
3. If you want to output all information in a txt file, execute this command:
net user > C:\Users\Amarnath\Desktop\accounts.txt
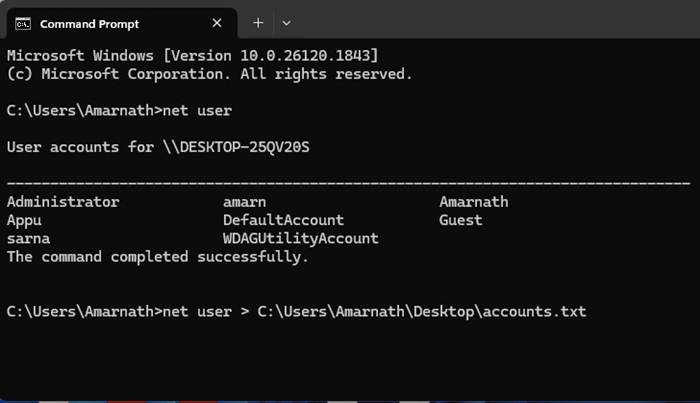
Note: You can modify the file path that starts with ‘C:\’
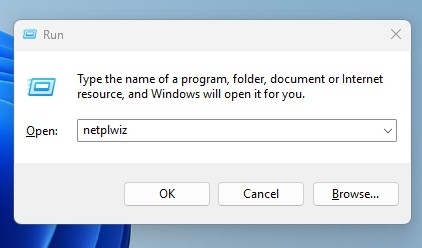
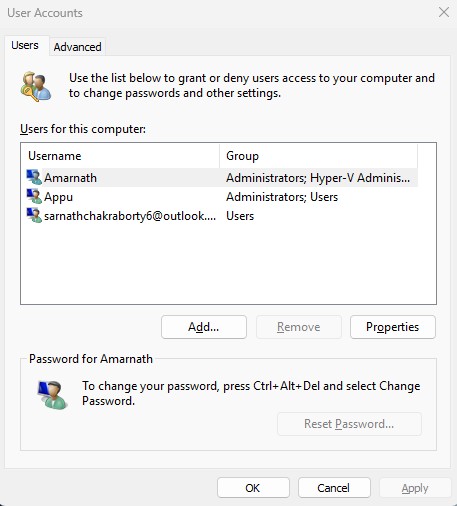
4. View All User Accounts Using the RUN Command
Another easy way to view all user accounts on Windows 11 is through Netplwiz. You can access this graphical utility via the RUN dialog box.
1. Press the Windows Key + R button together. This will open the RUN dialog box.
2. Paste the given command and press Enter.
netplwiz
3. You can now see all user accounts. You can also make changes to the account using this prompt.
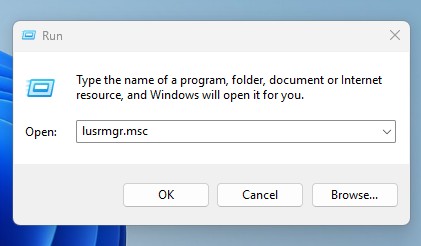
5. View All User Accounts on Windows 11 Using Local Users and Groups
If you’re using the Windows 11 Pro Edition, you can use the Local Users and Groups (lusrmgr) to view all user accounts.
1. Press the Windows Key + R to open the RUN dialog box.
2. Type lusrmgr.msc and press Enter.
3. On the Local Users and Groups Window, you will see all user accounts.
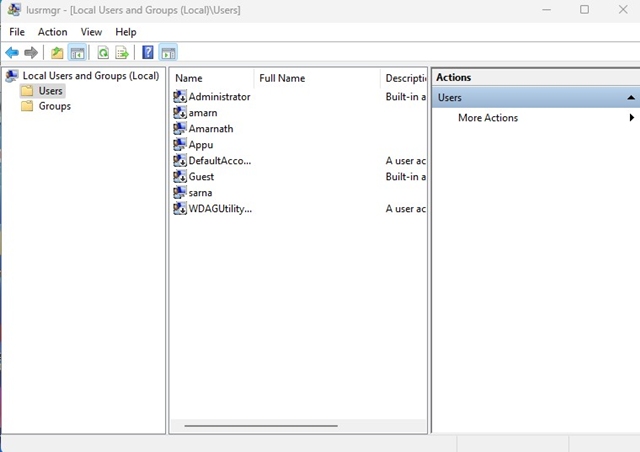
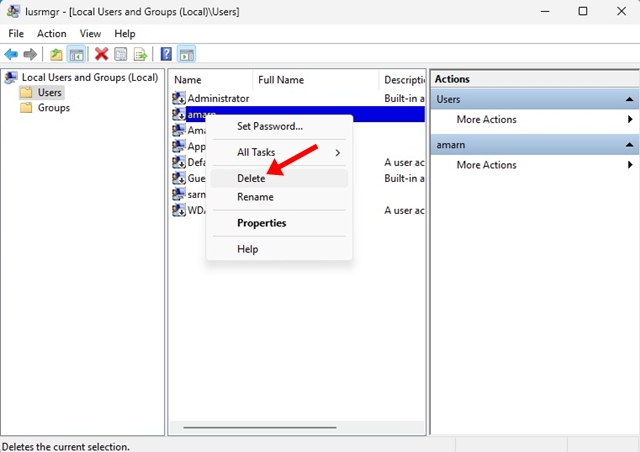
4. You can also disable and delete the account from the same Window.
These are the best ways to view all user accounts on Windows 11. Now that you know how to view all user accounts, you can manage them effectively. If you need more help on this topic, let us know in the comments.
The post How to View All User Accounts on Windows 11 appeared first on TechViral.
from TechViral


0 Comments