
Recently, many Windows 11 users were found getting a ‘DRIVER VERIFIER DMA VIOLATION’ BSOD error. If you’ve just encountered this BSOD on Windows 11, don’t panic! You can easily fix this problem by following these methods.
1. Update your Windows 11
The ‘DRIVER_VERIFIER_DMA_VIOLATION’ is usually a result of an operating system bug. Microsoft has already removed the bug by releasing an update. So, if you are using an outdated version of Windows, you need to update your Windows 11 to fix the issue.
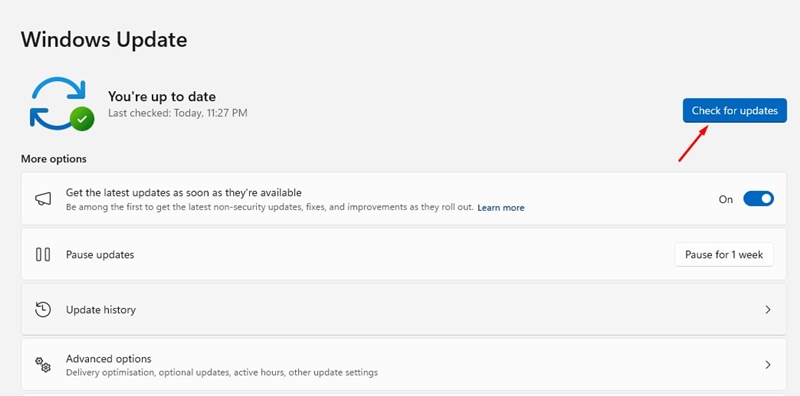
To update your Windows 11 PC, go to Settings > Windows Update > Check for Updates. This will download and install all pending updates.
2. Update Windows with Optional Update
If updating Windows 11 didn’t help, you need to update Windows with Optional updates.
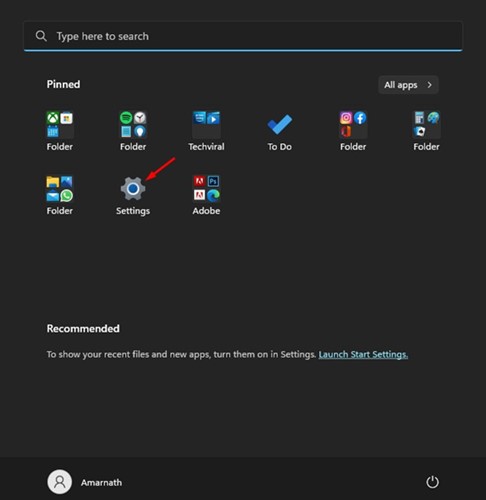
1. Click on the Windows 11 Start button and select Settings.
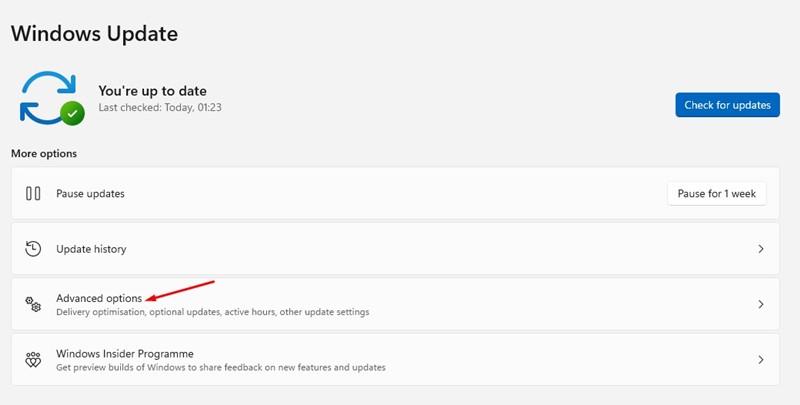
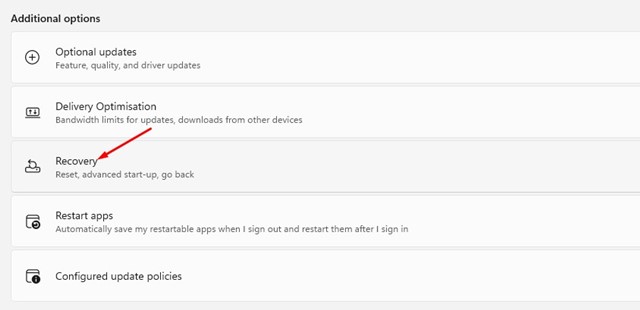
2. Navigate to Windows Update > Advanced Options.
3. Click on Optional Updates.
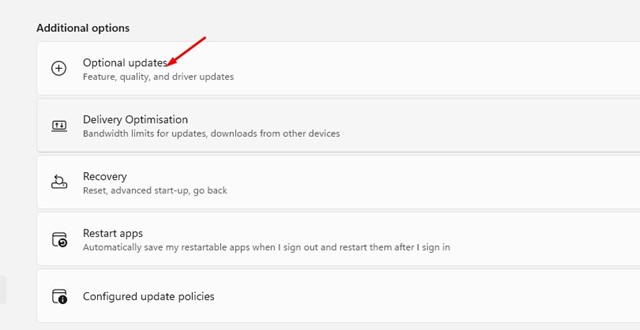
4. Install any available Optional update.
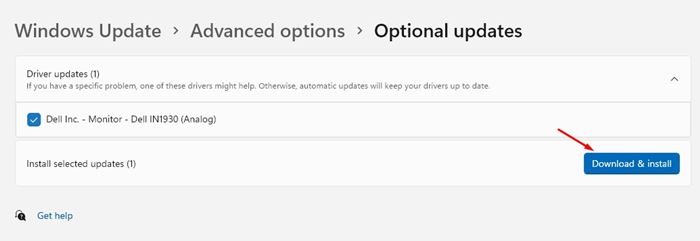
This will download & install all available optional updates. After installing the optional updates, restart your Windows 11 PC to fix the BSOD error.
3. Disable the Driver Verifier
Disabling the Driver Verifier has helped many Windows 11 users fix the error. Hence, you can also try disabling the driver verifier on your PC.
1. Open Windows 11 search and type Verifier.
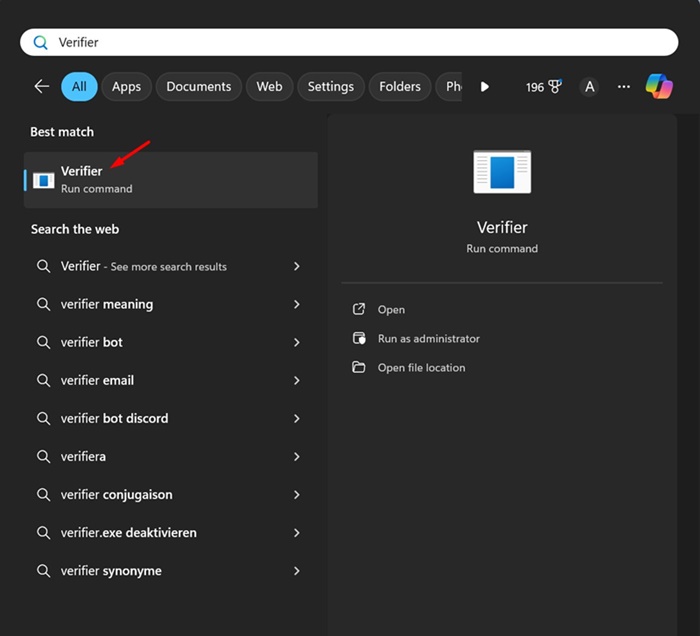
2. Right-click on the Verifier and select Run as administrator.
3. On the Driver Verifier Manager, select the Delete existing settings radio button and click Finish.
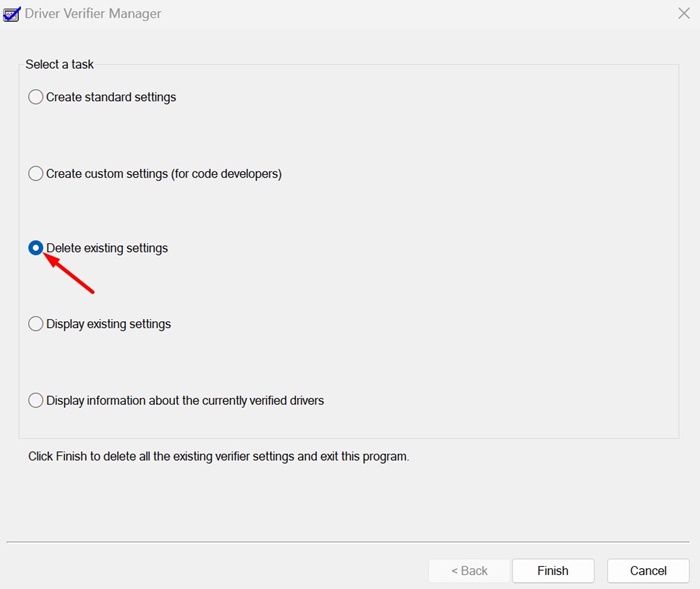
Make sure to restart your Windows 11 PC after making the change.
4. Run the SFC/DISM Scan
If you are getting the BSOD error because of system file corruption, you can fix it by running these two commands via the command prompt.
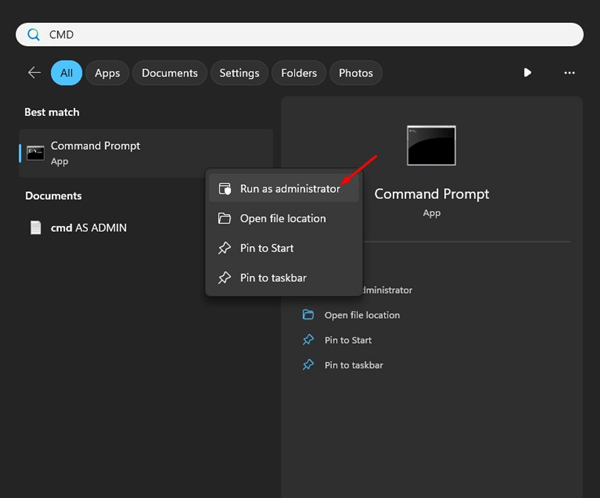
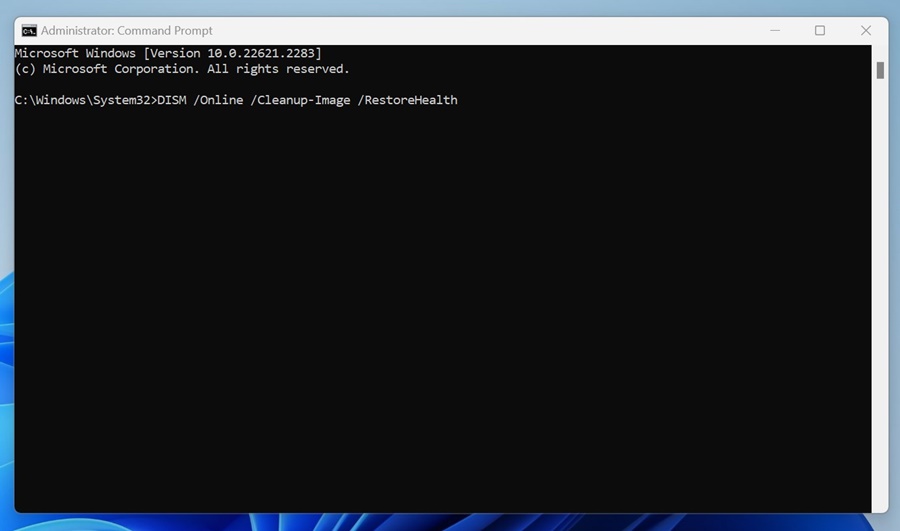
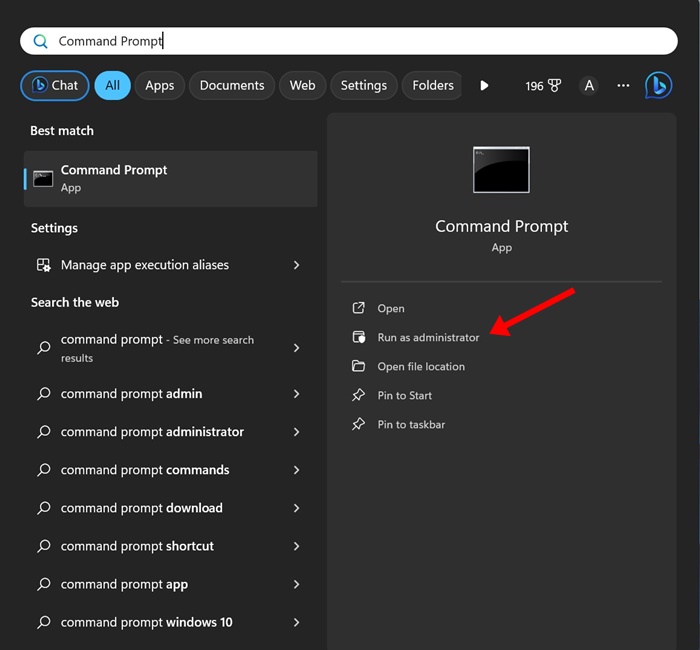
1. Type in CMD on the Windows 11 Search. Next, right-click on the Command Prompt and select Run as administrator.
2. Execute this command:
sfc /scannow

3. If the SFC command returns with an error, execute these commands one by one:
DISM /Online /Cleanup-Image /CheckHealth
DISM /Online /Cleanup-Image /ScanHealth
DISM /Online /Cleanup-Image /RestoreHealth
4. Once done, type exit on the Command Prompt and press Enter.
After executing these commands, restart your Windows 11 PC. This will possibly fix the BSOD error.
5. Run the CHKDSK utility
Bad sectors in the hard drive can also cause the ‘DRIVER_VERIFIER_DMA_VIOLATION’ BSOD error. So, you should run the CHKDSK utility to resolve the issue.
1. Type in Command Prompt on the Windows 11 Search. Next, right-click on the CMD and select Run as administrator.
2. Execute this command:
chkdsk /r /f
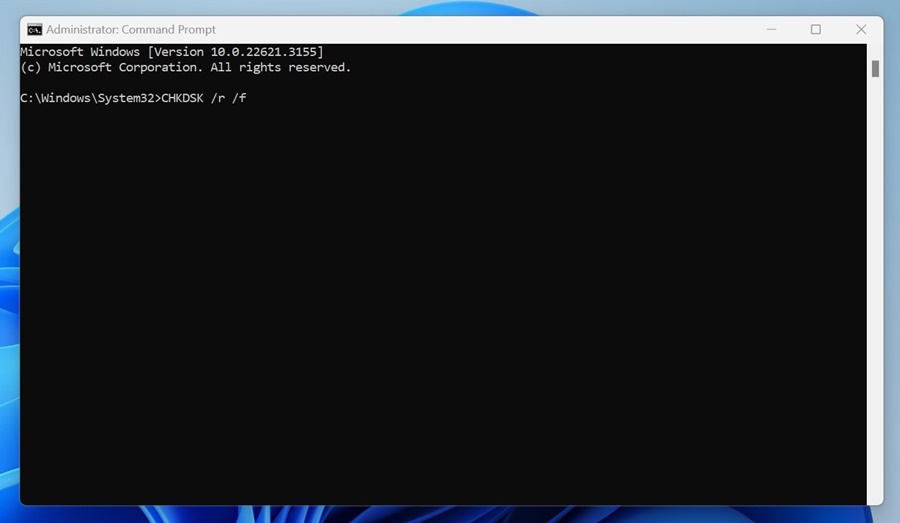
3. After executing the command, type Y and press Enter.
You need to wait until the scan is complete. Once the scan is completed, restart your Windows 11 PC to fix the BSOD error.
6. Check the Faulty Hardware
Hardware devices like printers, scanners, etc., have their own drivers, which can interfere with the existing drivers installed on your system. This conflict often triggers a BSOD on Windows 11.
Therefore, you should disconnect all hardware you’ve recently connected to your device. You can also reconnect the peripherals from your system individually to detect the problematic ones.
7. Perform a System Restore
If you still get the ‘DRIVER_VERIFIER_DMA_VIOLATION’ BSOD error, it’s time to revert your system to a previously created restore point.
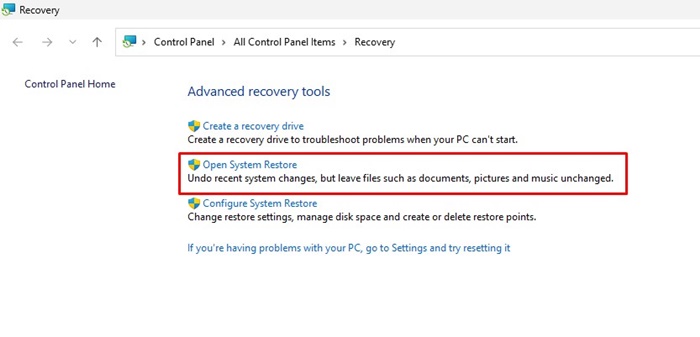
1. Open the Recovery app from the Windows Search.
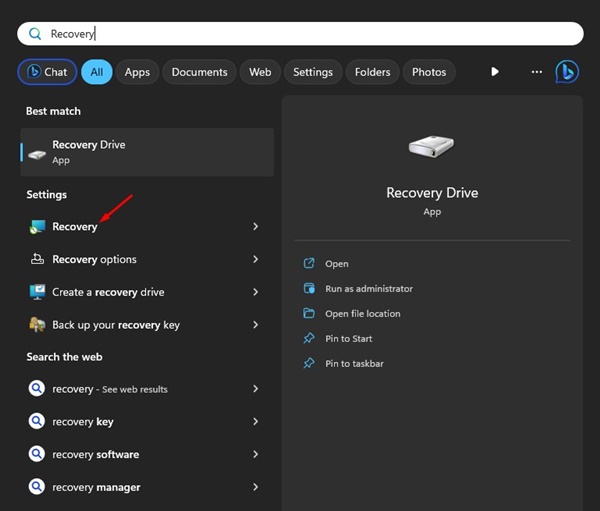
2. Click on Open System Restore.
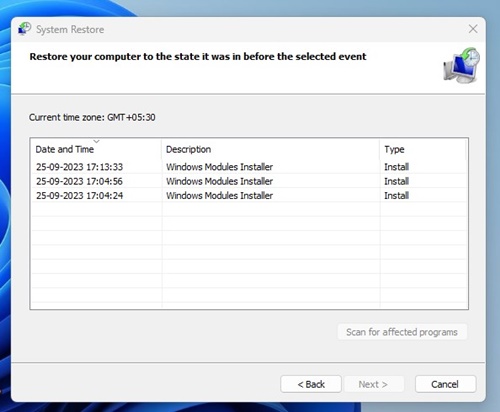
3. Select a restore point of your choice.
4. Click on the Finish to confirm your restore point.
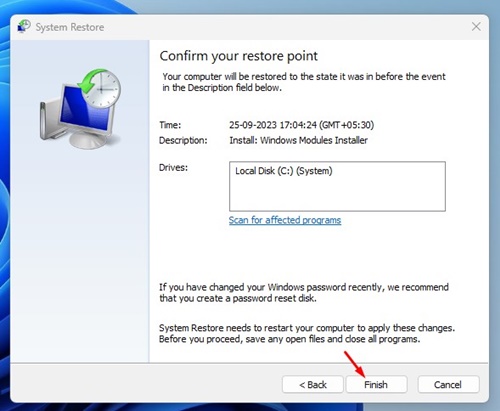
This is how you can perform a system restore on Windows 11 to fix the DRIVER_VERIFIER_DMA_VIOLATION BSOD error.
8. Reset Windows
If nothing worked in your favor, the only remaining option is to perform a system restore. Make sure to back up your important data before you do so.
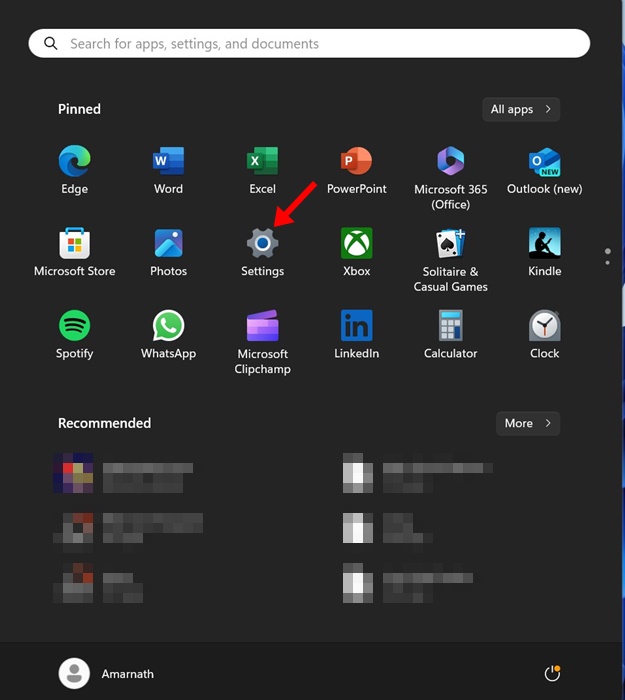
1. Click on the Windows 11 Start button and select Settings.
2. Click on Update & Security.
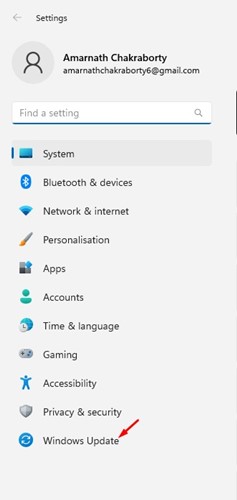
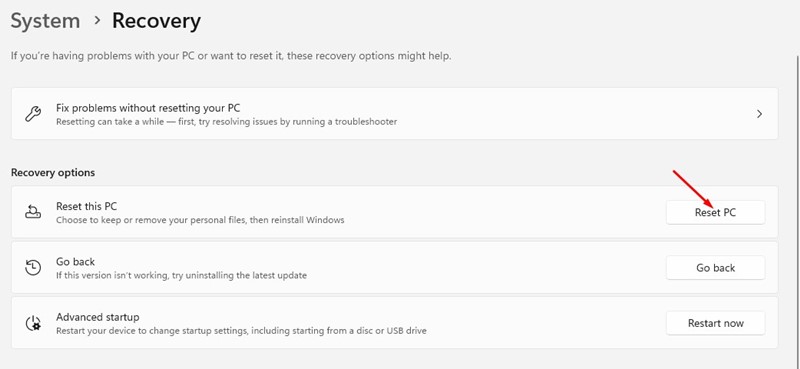
3. Click on Recovery.
4. Click the Reset PC button on the Reset this PC section.
5. On the Choose an Option screen, select Keep my files.
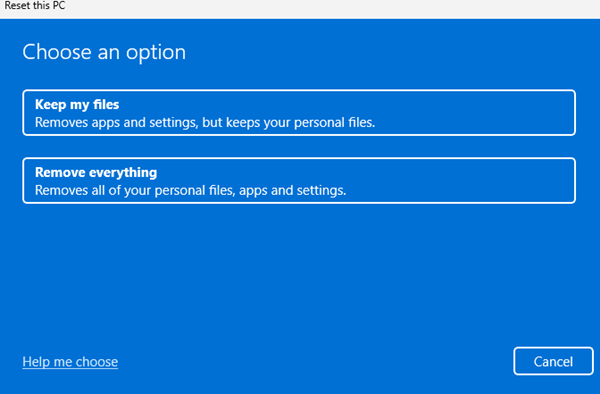
6. Select Cloud download.
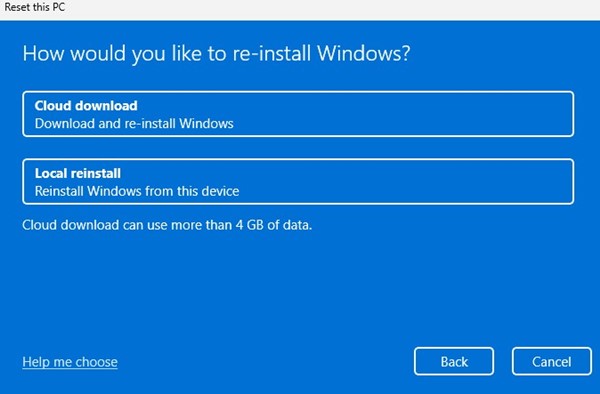
Click the Reset button to reset your Windows 11 settings to their default value. You need to wait for the reset process to complete. Once completed, use your device normally; you won’t get the BSOD error anymore.
These are some of the best working methods to fix the ‘DRIVER_VERIFIER_DMA_VIOLATION’ BSOD error on Windows 11. Let us know if you need more help resolving the Windows BSOD error.
The post How to Fix ‘DRIVER_VERIFIER_DMA_VIOLATION’ BSOD Error appeared first on TechViral.
from TechViral


0 Comments