
Sometimes, the auto-update feature of the Google Play Store fails to function properly. If you’ve been experiencing the same problem, here’s what you should do to fix it.
1. Make sure the Auto-Update is Turned On
Google Play Store will update your apps only if the Auto-Update apps feature is enabled. If you’ve disabled the feature to save data usage, you need to turn it on again.
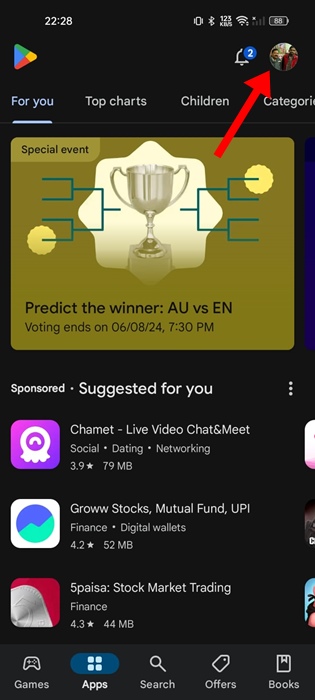
1. Launch the Google Play Store on your Android phone.
2. Tap on your profile picture.
3. Select Settings.

4. Expand the Network preferences.
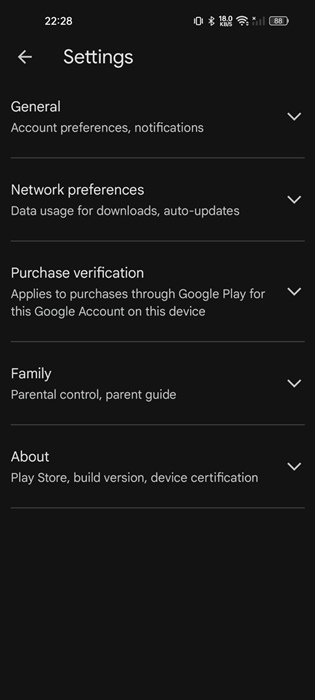
5. Tap on the Auto-Update apps.
6. Select Over any network.
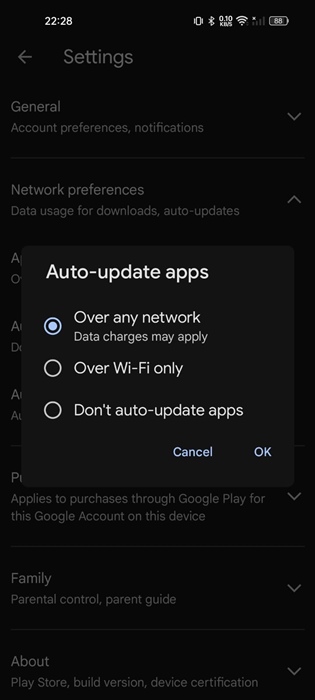
7. If you want your apps to update only when connected to WiFi, select the ‘Over WiFi only’ option.
2. Check if your Internet is working

If your phone isn’t connected to the internet or you have an internet issue, the auto-update will fail. You can visit the fast.com website to check whether your internet is working. Even if it is, make sure it’s stable.
3. Check the Storage Space
It’s recommended to keep at least a few gigs of storage space free for the new app and update installation.
To free up storage space, you can remove duplicate photos, videos, SMS messages, and other similar content. Or, you can use third-party apps to free up storage space on your Android phone.
4. Check the Date & Time
Several Android apps, including Google Play Store, rely on date and time data to function properly. Here’s how to correct the date and time.
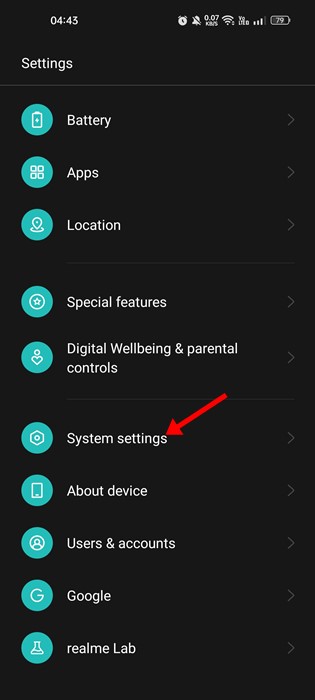
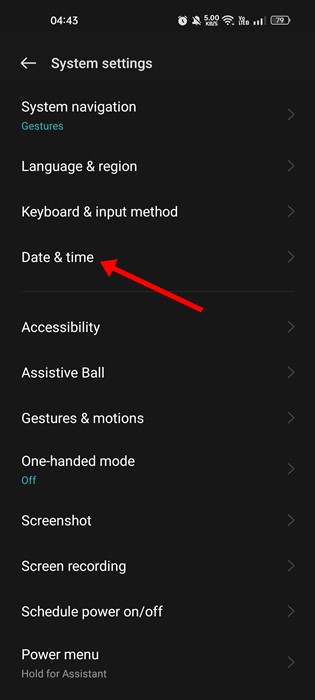
1. Launch the Settings app.
2. Tap on Additional Settings or System Settings.
3. Tap on Date & Time.
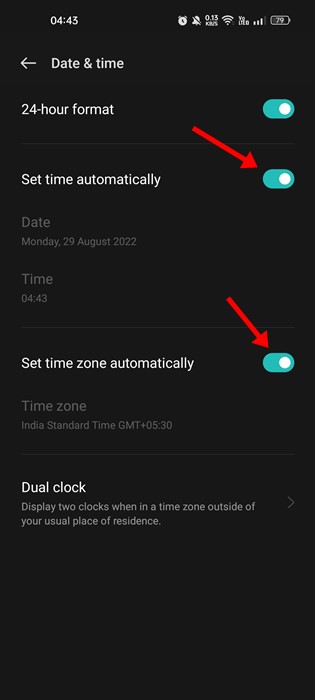
4. Enable the toggle for Set Time Automatically and Set time zone automatically.
5. Clear the Google Play Store Cache
An outdated or corrupted Google Play Store cache can prevent apps from auto updating. You can rule out this problem by clearing the existing cache file saved by the Play Store.
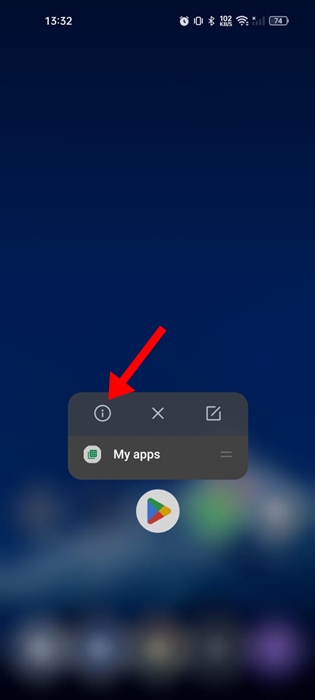
1. Long-press the Play Store icon on your home screen and select App Info.
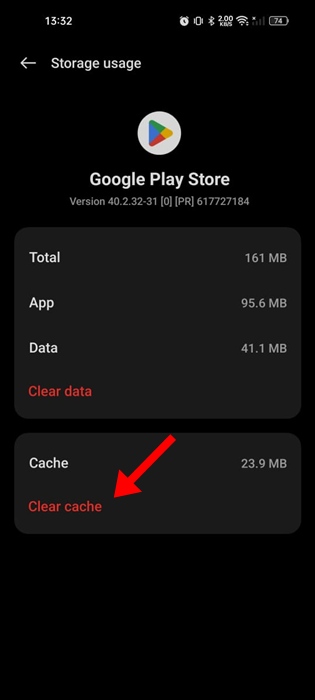
2. Tap on Storage usage.
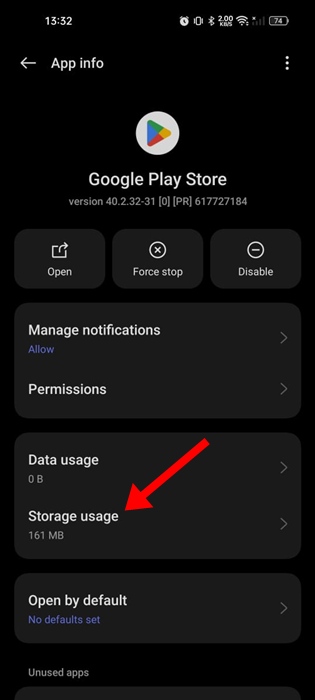
3. Tap on Clear Cache.
6. Clear the Google Play Services Cache
Like the Google Play Store cache, you also need to clear the cache file saved by the Google Play Services.
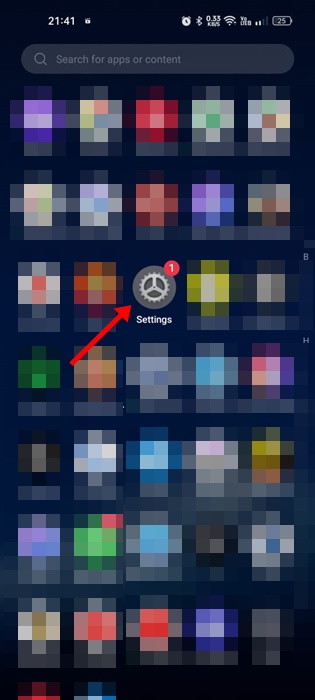
1. Launch the Settings app.
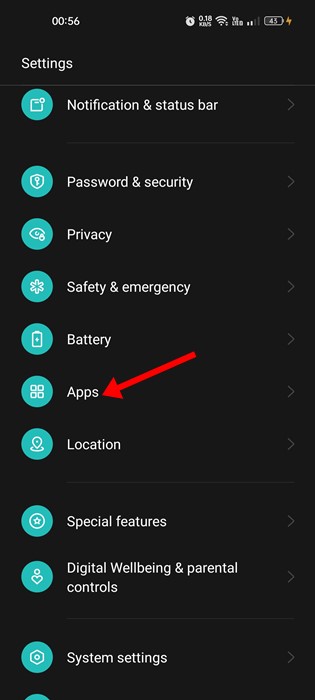
2. Tap on Apps.
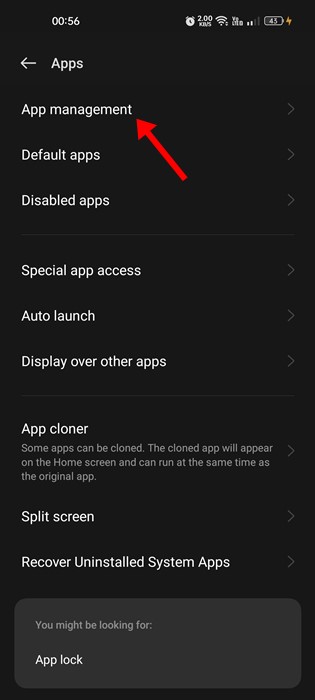
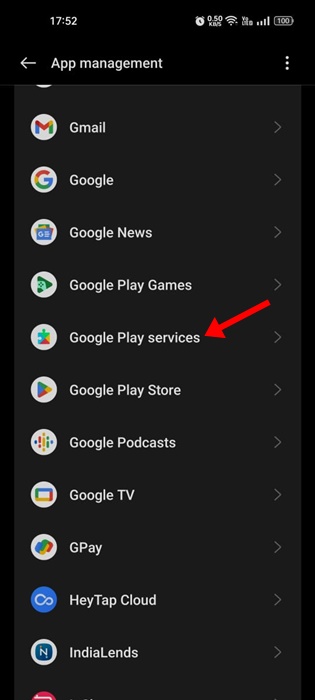
3. Tap App Management.
4. Find and tap Google Play Services.
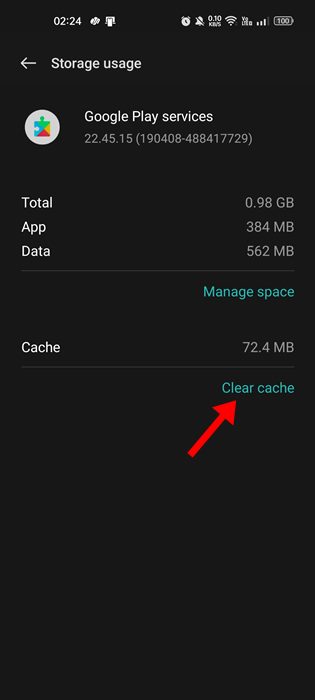
5. Select Storage Usage and tap Clear Cache.
7. Relogin to your Google Account
Several Android users have reported that they were able to resolve this problem by logging out and back into their Google Account. You can try doing it as well.
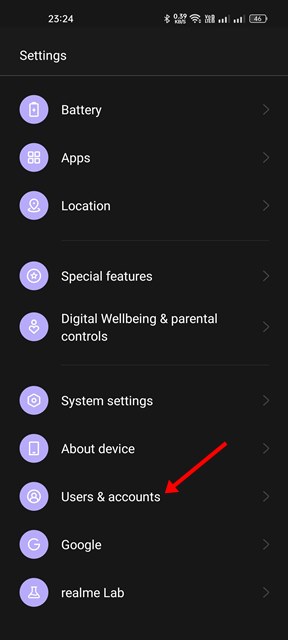
1. Launch the Settings app and tap on Users & accounts.
2. Tap on your Google Account.
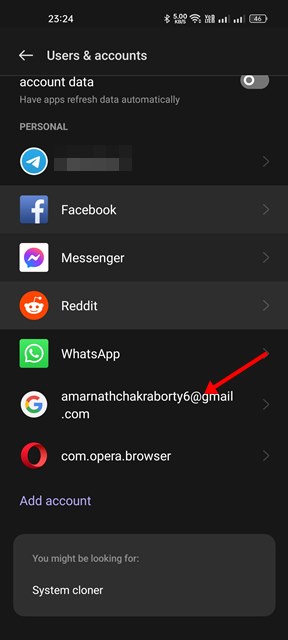
3. Tap the three dots at the top right corner and select Remove Account.

4. After removing the account, open the Play Store and log in with your Google Account again.
8. Update your Android
The Android version installed on your phone may have a bug that prevents the Play Store’s auto update feature from functioning properly. Installing the pending system updates can eliminate such bugs.
To update your Android, navigate to Settings > About Device. On the About Device screen, check for pending updates & install them.
These are a few simple ways to fix the Google Play Store not auto updating apps on Android. Let us know if you need more help on this topic in the comments.
The post How to Fix Google Play Store Not Auto Updating Apps appeared first on TechViral.
from TechViral


0 Comments