
You can simply take Clean Boot as a technique that starts your PC with a minimal set of programs and drivers. If you suspect that your PC is facing problems due to drivers or certain programs, you should perform a clean boot and check. Here’s how you can perform a clean boot on Windows 11.
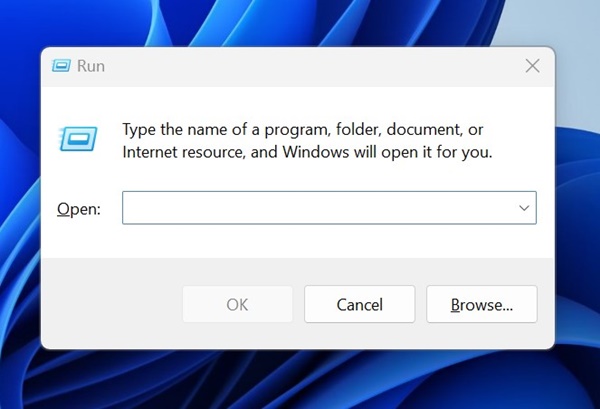
1. Press the Windows Key + R button on your keyboard. This will open the RUN dialog box.
2. Type in msconfig and press Enter.
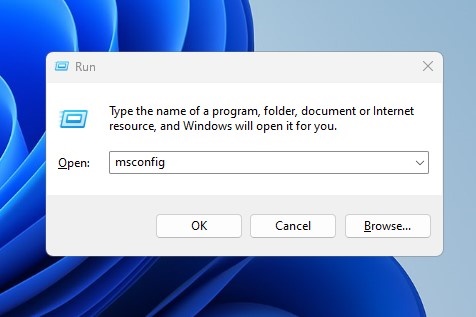
3. This will open the System Configuration utility.
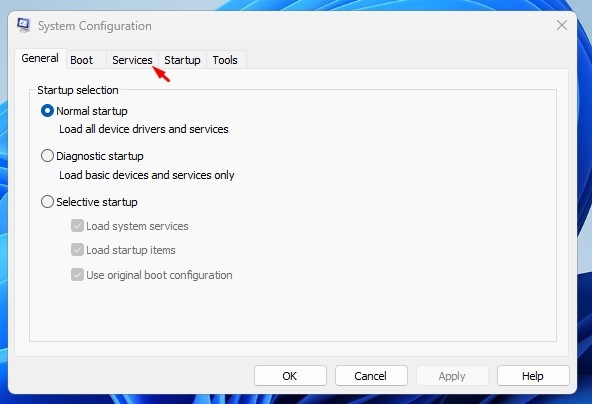
4. Switch to Services.
5. Check Hide all Microsoft Services.
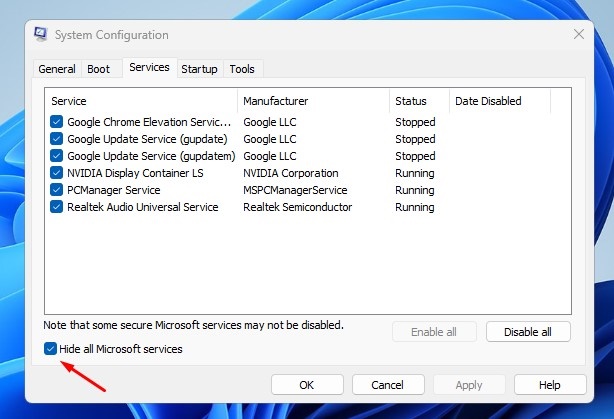
6. Click Disable All.
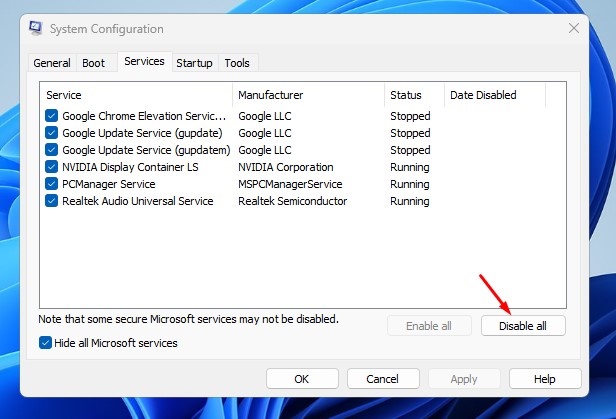
7. Click Apply, then OK.
Disable the Startup Apps from the Task Manager
The next step includes disabling the startup programs from the Task Manager.
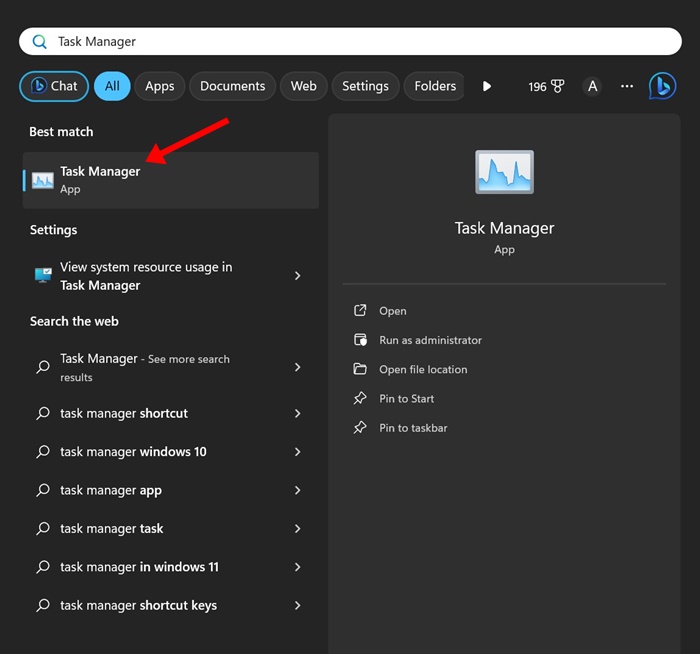
1. Open Task Manager from the Windows Search.
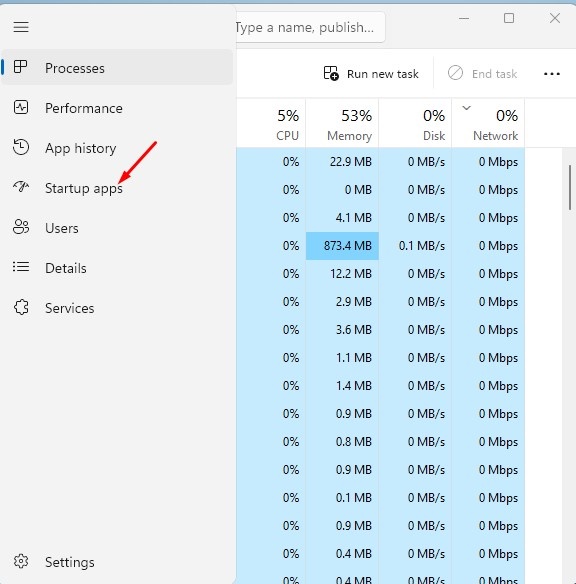
2. Switch to Startup Apps.
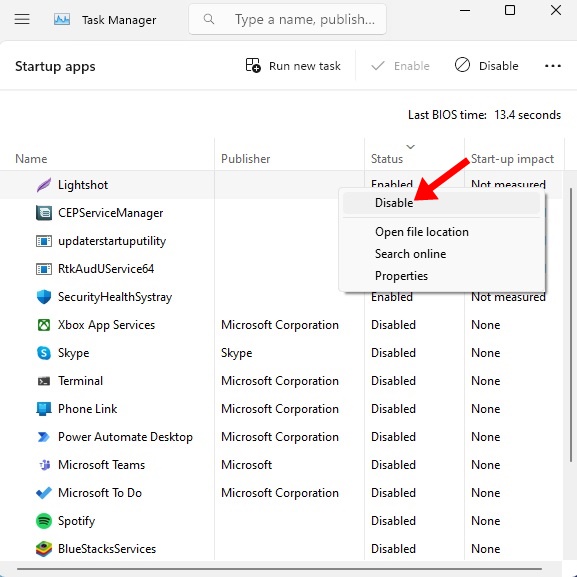
3. Right-click on each one and select Disable.
After making the changes, simply restart your computer. Windows 11 will launch in a clean boot environment; you need to check if the problem persists.
How to Exit Clean Boot Environment on Windows 11
Whether performing a clean boot has fixed your problem or not, you will have to exit the clean boot environment.
1. Press the Windows Key + R button on your keyboard. In the RUN dialog box, type msconfig and press Enter.
2. Switch to Services.
3. Check the Hide All Microsoft Services checkbox and click Enable All.
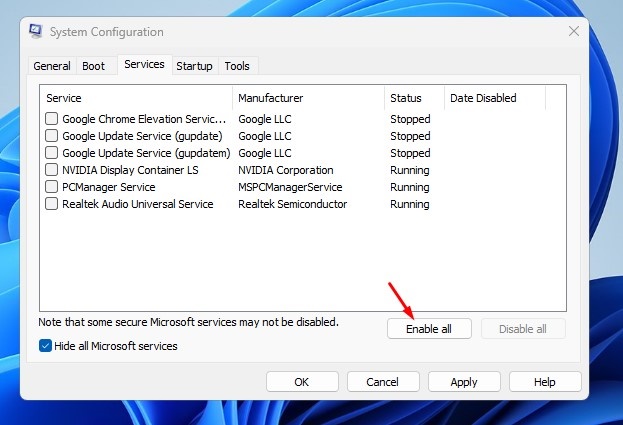
4. Click Apply and OK.
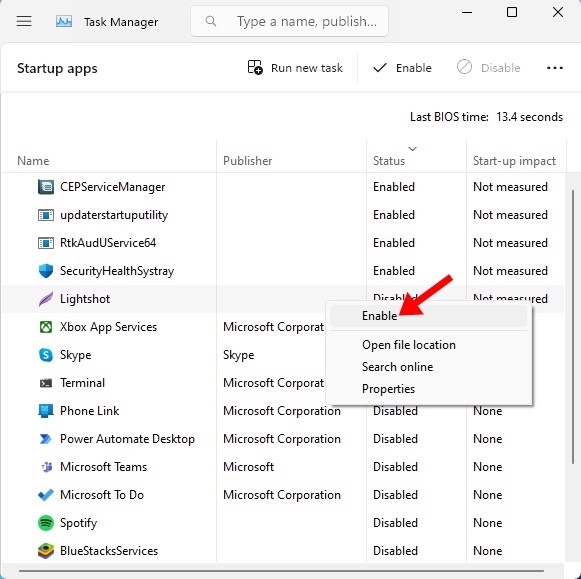
5. Open Task Manager and switch to the Startup Apps.
6. Right-click on the Apps you’ve disabled and select Enable.
After making the changes, restart your Windows 11 PC. Your PC will exit the clean boot environment.
This guide explains how to perform a clean boot on a Windows 11 computer. If you need more help with this topic, let us know in the comments.
The post How to Perform Clean Boot on Windows 11 appeared first on TechViral.
from TechViral


0 Comments